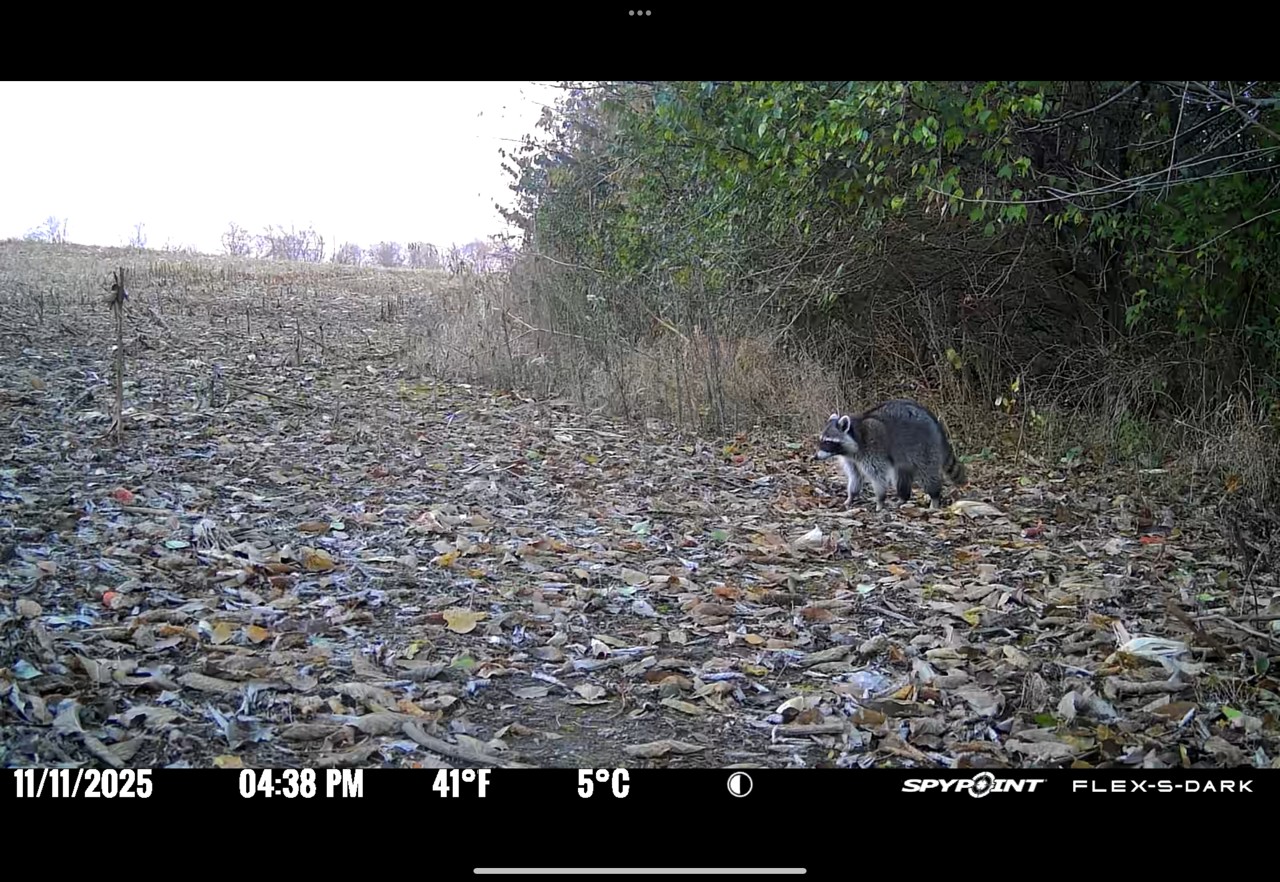
The modern deer hunter deploys a good many trail cameras, and rightfully so. These are the most revolutionary tools within deer hunting. Nothing else rivals the impact trail cameras have had on scouting effectiveness.
Traditional SD trail cameras and cellular trail cameras aren’t without downfalls, though. Used improperly, these tools can negatively impact scouting and hunting success. Here are trail camera scouting mistakes you keep making, and how to avoid them.
1. Implementing the Wrong Batteries
Trail cameras tend to do best with certain batteries. Study the product manual and determine if it calls for alkaline or lithium batteries. Then, experiment to determine what brand(s) perform best within the unit(s). Over time, you’ll determine which brands, and battery offerings within brands, provide the best battery life. For example, most cameras do not perform well with rechargeable batteries. Performance with these tends to be worse than other options.
2. Not Using External Power Sources
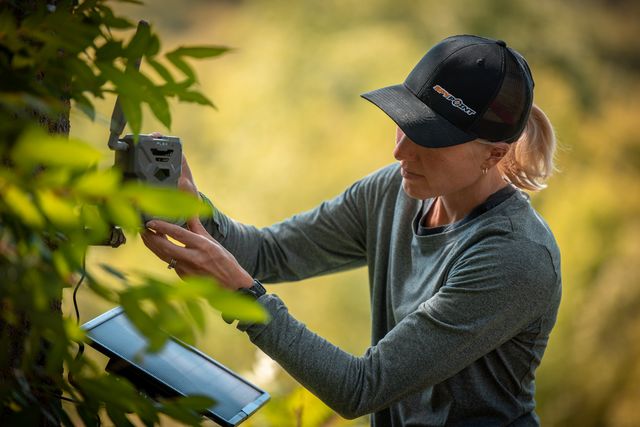
Think about it, the primary purposes of a cellular trail camera are real-time intel and fewer trips to the field to pull cards and change batteries. Batteries alone will keep a cellular camera running for weeks or months (temperature depending). However, in addition to internal batteries, it’s always better to implement an external battery source like the SPLB-10 or SPLB-22 solar panels. This can greatly increase the battery life of the camera without having to visit it to refresh batteries. It saves gas money, reduces time invested, and decreases human intrusion.
3. Using Low-End or High-End SD Cards
There’s a balance when choosing the right SD cards for your cellular trail camera. SD cards with too low of a write speed and minimal storage (i.e.: 4 GB or less) can be limited in its abilities. SD cards with too high of a write speed and excessive storage (more than 32 GB), are a waste of money and can even cause trail camera malfunctions. Instead, choose SD cards between the two ends for the best performance for your money.
4. Improperly Managing SD Cards
It’s important to manage SD cards in a proper manner. Have dedicated cards for each camera. Write an identifying name or number that matches the camera to the card. Mixing SD cards between trail cameras, and especially other devices, can lead to malfunctions. Additionally, ensure that every SD card is formatted and ready before installing in the trail camera.
5. Using Large Straps on Cameras
A large strap on a trail camera makes it more visible to game, but especially other hunters. If posting cameras on public lands, close to property lines, or in security positions, a large strap around a tree or post can give that camera away. These make the camera visible from every angle. Instead, use alternative methods. On public land, replace the strap with paracord. It’s smaller and less visible but still able to hold most cameras. On private land, consider a screw-in trail camera mount, which eliminates straps altogether.
6. Making Trail Cameras Too Visible
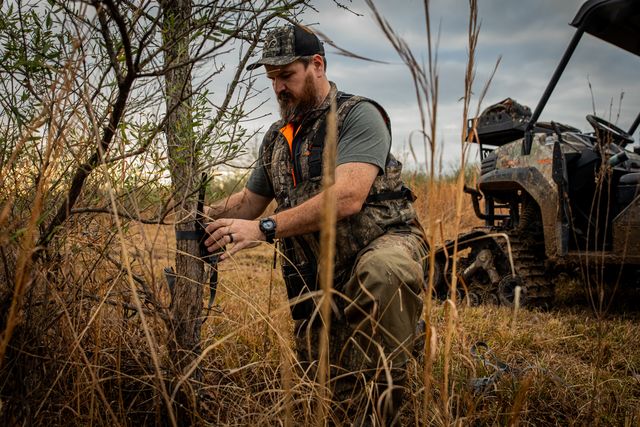
Other things can make trail cameras more visible, too. Some of these include placing them on tree trunks that are smaller than the camera body, at eye level, along heavily used access trails, and more. On public land, and shared private land, try not to make trail cameras too visible.
7. Using Improper Trail Camera Heights or Angles
A camera hung too low catches the bottom half of a buck’s rack, or not at all. A camera placed too high might snag the rack if its head is up. Of course, placed at the wrong angle, it can miss deer altogether, or result in poor trail camera photo orientation.
8. Failing to Set the Timestamp
All SD trail cameras require setting the timestamp. Some cellular cameras do, too. If so, ensure that it’s completed before deploying the trail camera. Time and date are crucial elements when analyzing trail camera data. These pieces of information are very important when patterning bucks and planning hunts.
9. Choosing the Wrong Spots for Trail Cameras
Don’t fall into the habit of always placing trail cameras in the same old spots because that’s how you’ve always done it. That’s the wrong attitude. Placing trail cameras is a mixture of art and science. Where you hang trail cameras revolves around seasonal bedding areas, seasonal food sources, available water sources, hunting pressure, doe groups, and much more. Just as hunting tactics are situational, so are trail camera deployments. Analyze each unique situation at hand and place trail cameras accordingly.
10. Facing Trail Cameras the Wrong Direction
It’s very easy for deer to walk within range of a trail camera, but never trigger it. Facing trail cameras in the wrong direction is usually the culprit for that. When posting cams, face these in the most likely direction to capture deer. Additionally, position cameras so they don’t face east or west. In spring, summer, and early fall, these are the worst directions to face cams, especially regarding the rising and setting sun. By late fall and winter, the sun shifts more to the southern hemisphere, so pointing cameras in a southerly direction can lead to poorer photo quality, too. Therefore, when possible, north is the best direction to face trail cameras.
11. Using the Wrong Trail Camera Settings
Trail camera settings should be matched to the situation at hand. For example, a Time-Lapse mode might be best for larger ag fields and food plots where deer might not travel close enough to trigger the camera. A longer rest period might be best for mineral licks and bait stations. The three-photo burst is ideal for trails and travel routes during the rut. As explained, use the right settings for the specific use and objectives for the trail camera.
12. Choosing the Wrong Cellular Data Plans
Some hunters need fewer photos per month, and others need an unlimited data plan. Gauge your needs and choose cellular data plans accordingly. This will ensure you get the coverage needed, but don’t overspend on data that goes unused.
13. Leaving Triggers in Front of Posted Cameras
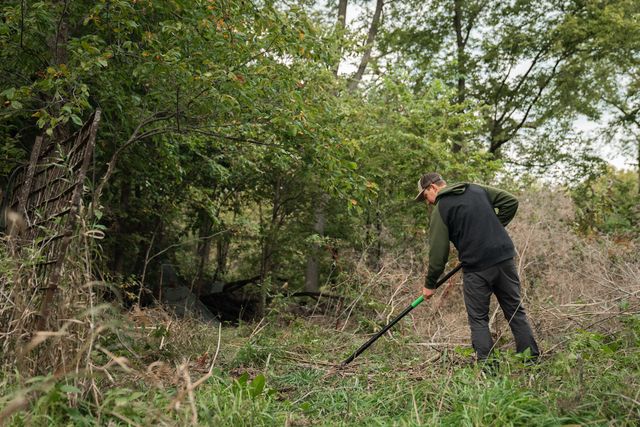
Tree limbs, leaves, grasses, and other debris can trigger trail cameras. These false images can lead to diminished trail camera battery life and hundreds or thousands of useless photos. Always remove debris in front of and around cameras that might trigger cameras or block deer that are in frame.
14. Treating SD Cameras and Cellular Trail Cameras the Same
Some hunters treat SD cameras and cellular trail cameras in the same manner. That’s a mistake. With the invention of cellular trail cameras, these are the best tools for scouting. Post these in your best spots. Deploy cell cams (with external battery sources) in sensitive locations where you can’t risk human intrusion but still need real-time dat.
Cell cams don’t make SD cameras obsolete, though. These are still very relevant. However, SD cams should be placed in locations you can easily pull cards without pressuring deer, near stand locations where you can pull cards while hunting, etc. Furthermore, SD cameras are perfect for soaking in spots where you won’t check them at all until after deer season. Then, you’ll use that historical data to better plan next season. Likely spots for this include bedding areas, and spots where you don’t want to intrude on, leave scent behind, and pressure the deer herd.
15. Not Studying the Direction of Travel
Along with date and time, direction of travel and the relationship between these two elements is vital scouting information. Studying the first frame (when a deer arrives) and last frame (when a deer departs) can indicate where it came from and where it’s going. Then, studying the timestamp can help determine its patterns.
For example, in the morning, where it comes from might indicate the destination food source it fed at all night. Where it goes toward can hint at the bedding area it uses during the daytime. In the afternoon, where it comes from can indicate where it bedded during the day. Where it goes to can reveal its evening destination food source. Hunters can piece this information together to establish patterns and make hunt plans accordingly.
16. Using Trail Cameras as Your Only Scouting Tool
Trail cameras are, by far, the best scouting tools available to deer hunters. However, they’re only part of the scouting process. Hunters should still scout in the field. E-scout with modern hunting apps and maps, put buts on the ground and ground-truth your expectations, glass from afar to find deer your cams might be missing. These things, paired with a proper trail camera deployment, will help you live your best deer hunting life.
