While many of us use game and trail cameras during hunting season to observe target species, they can also be used to capture amazing wildlife photography year-round. Whether you're using a trail cam for research or just to enjoy nature, the right setup can lead to incredible trail cam photos at any time of year. We asked professional wildlife photographer and SPYPOINT prostaff, Floor Terpstra of Savage Lens Photography, for three tips on how to get the best wildlife photos and videos with cellular and non-cellular trail cameras. Check out Floor's amazing instagram account with tons of SPYPOINT content here.
1. Learn your subject
Capturing intimate trail cam photos starts with learning the ins and outs of the species you’re targeting. Research their habitat, feeding areas, resting spots, and preferred travel routes. Then, take that knowledge into the field. Tools like Google Earth or the SPYPOINT app’s maps feature can be very useful to break down large areas into a handful of potentially successful sites to set up your game and trail cameras.
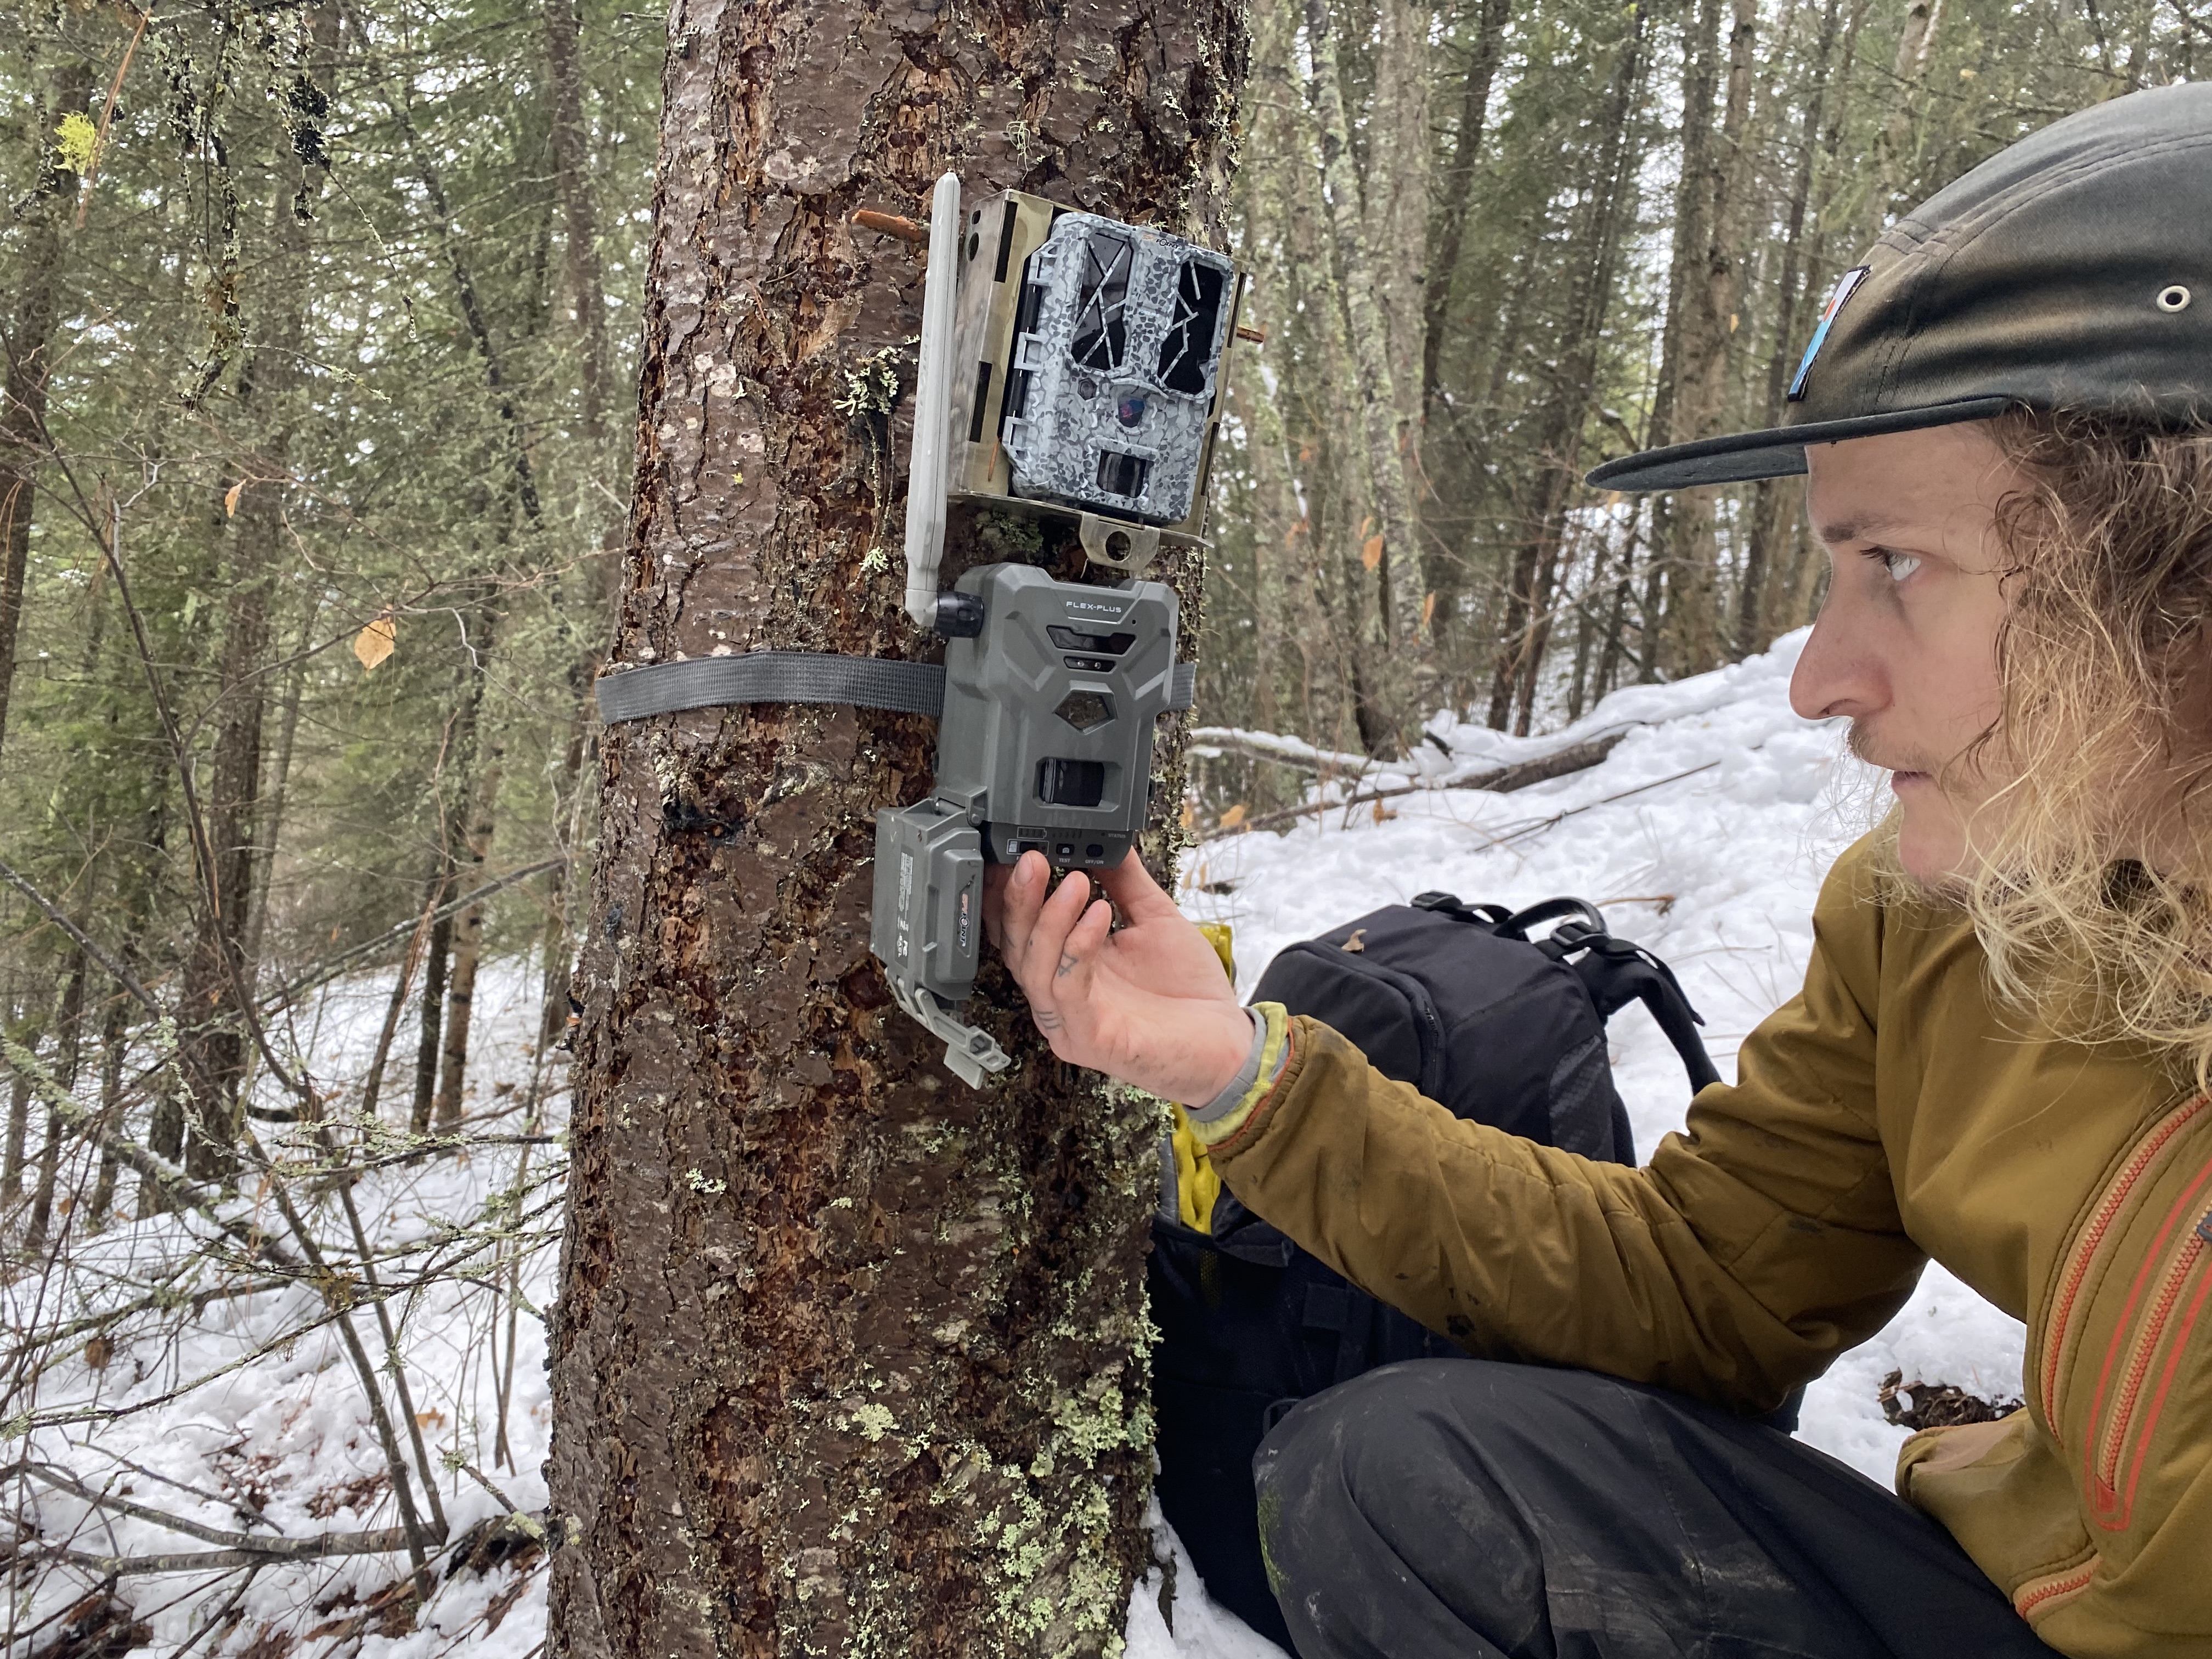
Floor Terpstra demonstrates an ideal camera position for wildlife photos and videos.
2. Get up close and personal
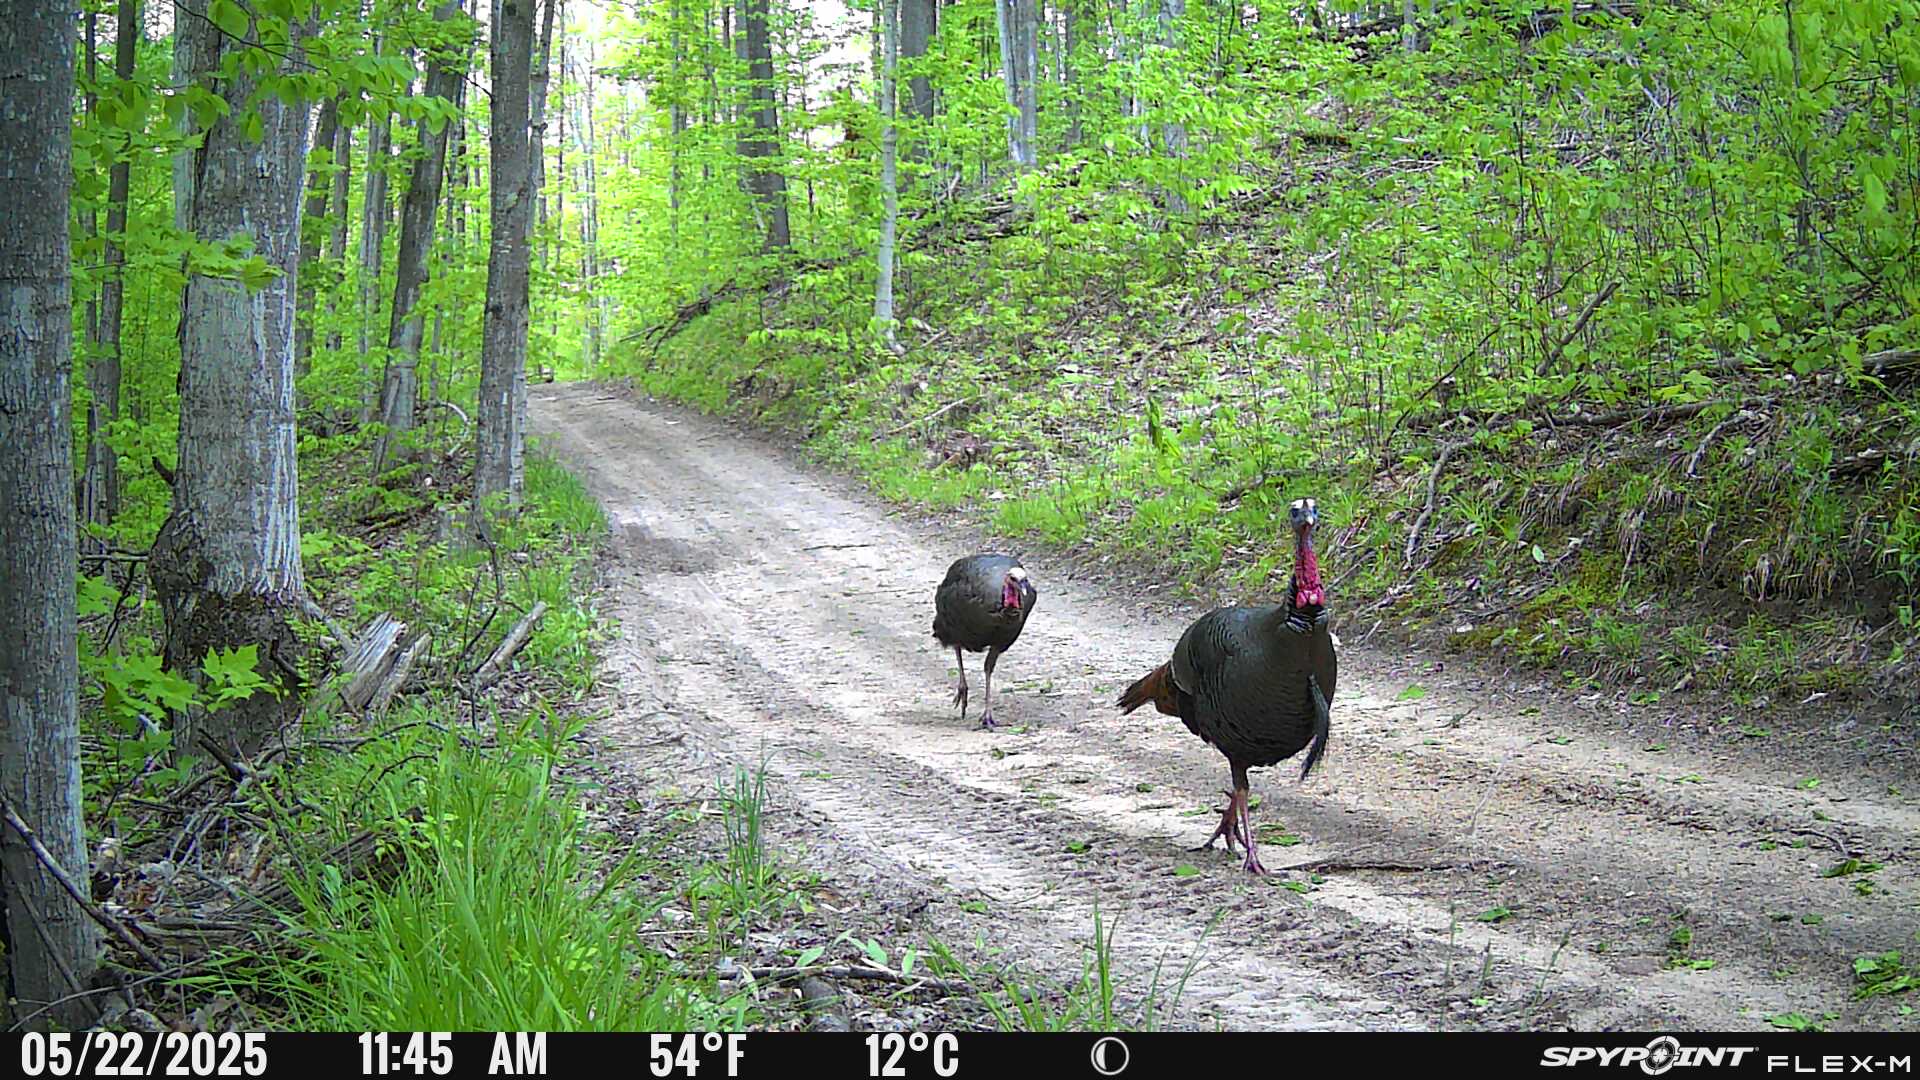
One of the best ways to capture great wildlife photography is by positioning your trail cam at the eye level of the species you’re tracking. For bobcats, that means approximately 1-1.5 feet off the ground, while larger animals like elk or moose require a higher placement to capture the entire animal in the frame. If placing your trail camera on a game trail, set it at around a 45-degree angle perpendicular to the trail. This way, the animal stays in the field of view for quite some time and your trail cam will capture the front and side of the animal.
A video of a bobcat taken by Floor Terpstra's FORCE-PRO trail camera.
3. Get creative
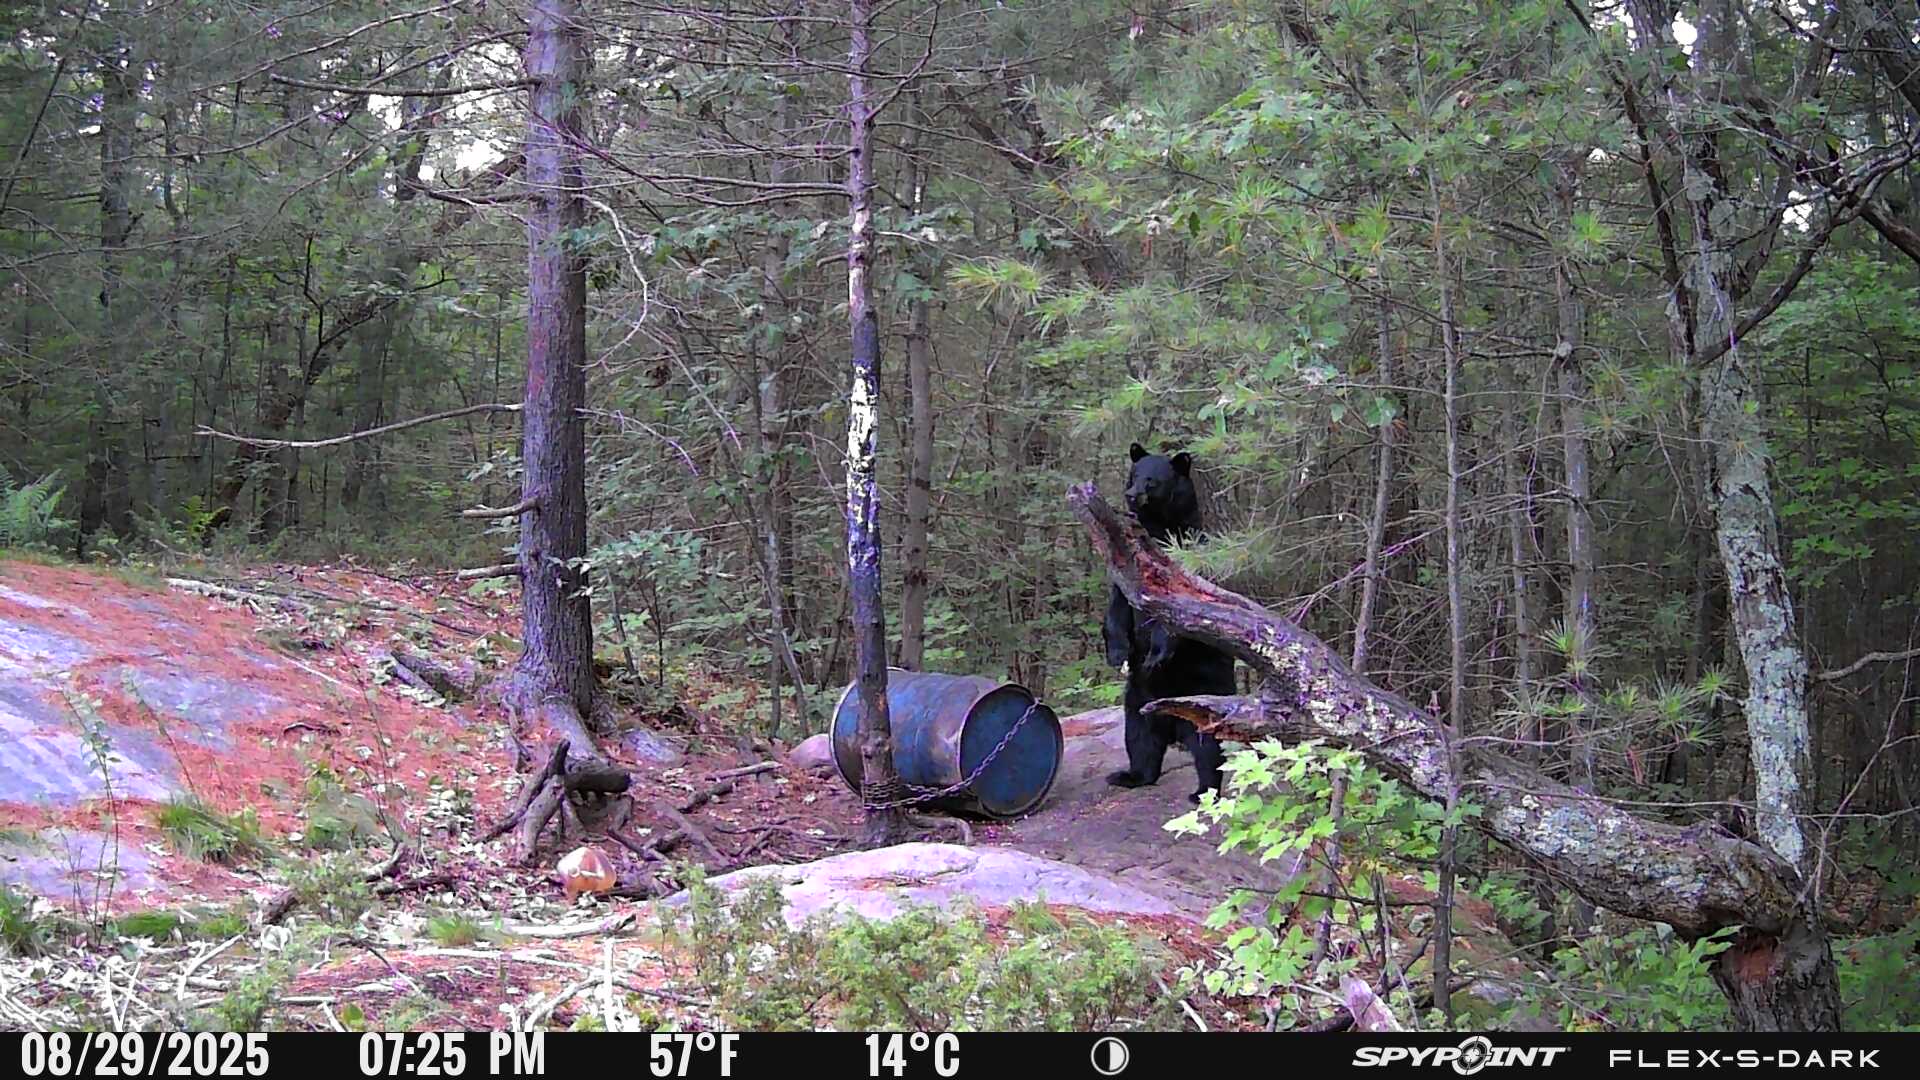
Capturing trail cam photos or videos of wildlife walking down a trail is a great way to observe them, but documenting unique animal behaviors can take your wildlife photography to the next level. Consider setting up your game and trail cameras near rub trees where bears stand and scratch, scrapes where bobcats and mountain lions communicate, or natural crossings like fallen logs over creeks that animals use as bridges. You can even place a trail cam near a carcass to capture feeding behavior from predators and scavengers. The more research you do, the better your chances of finding these incredible locations. With the right placement, your trail cams can reveal fascinating moments in nature that most people never get to see.
Floor Terpstra's FLEX-PLUS captures a video of a bear rubbing against a tree.
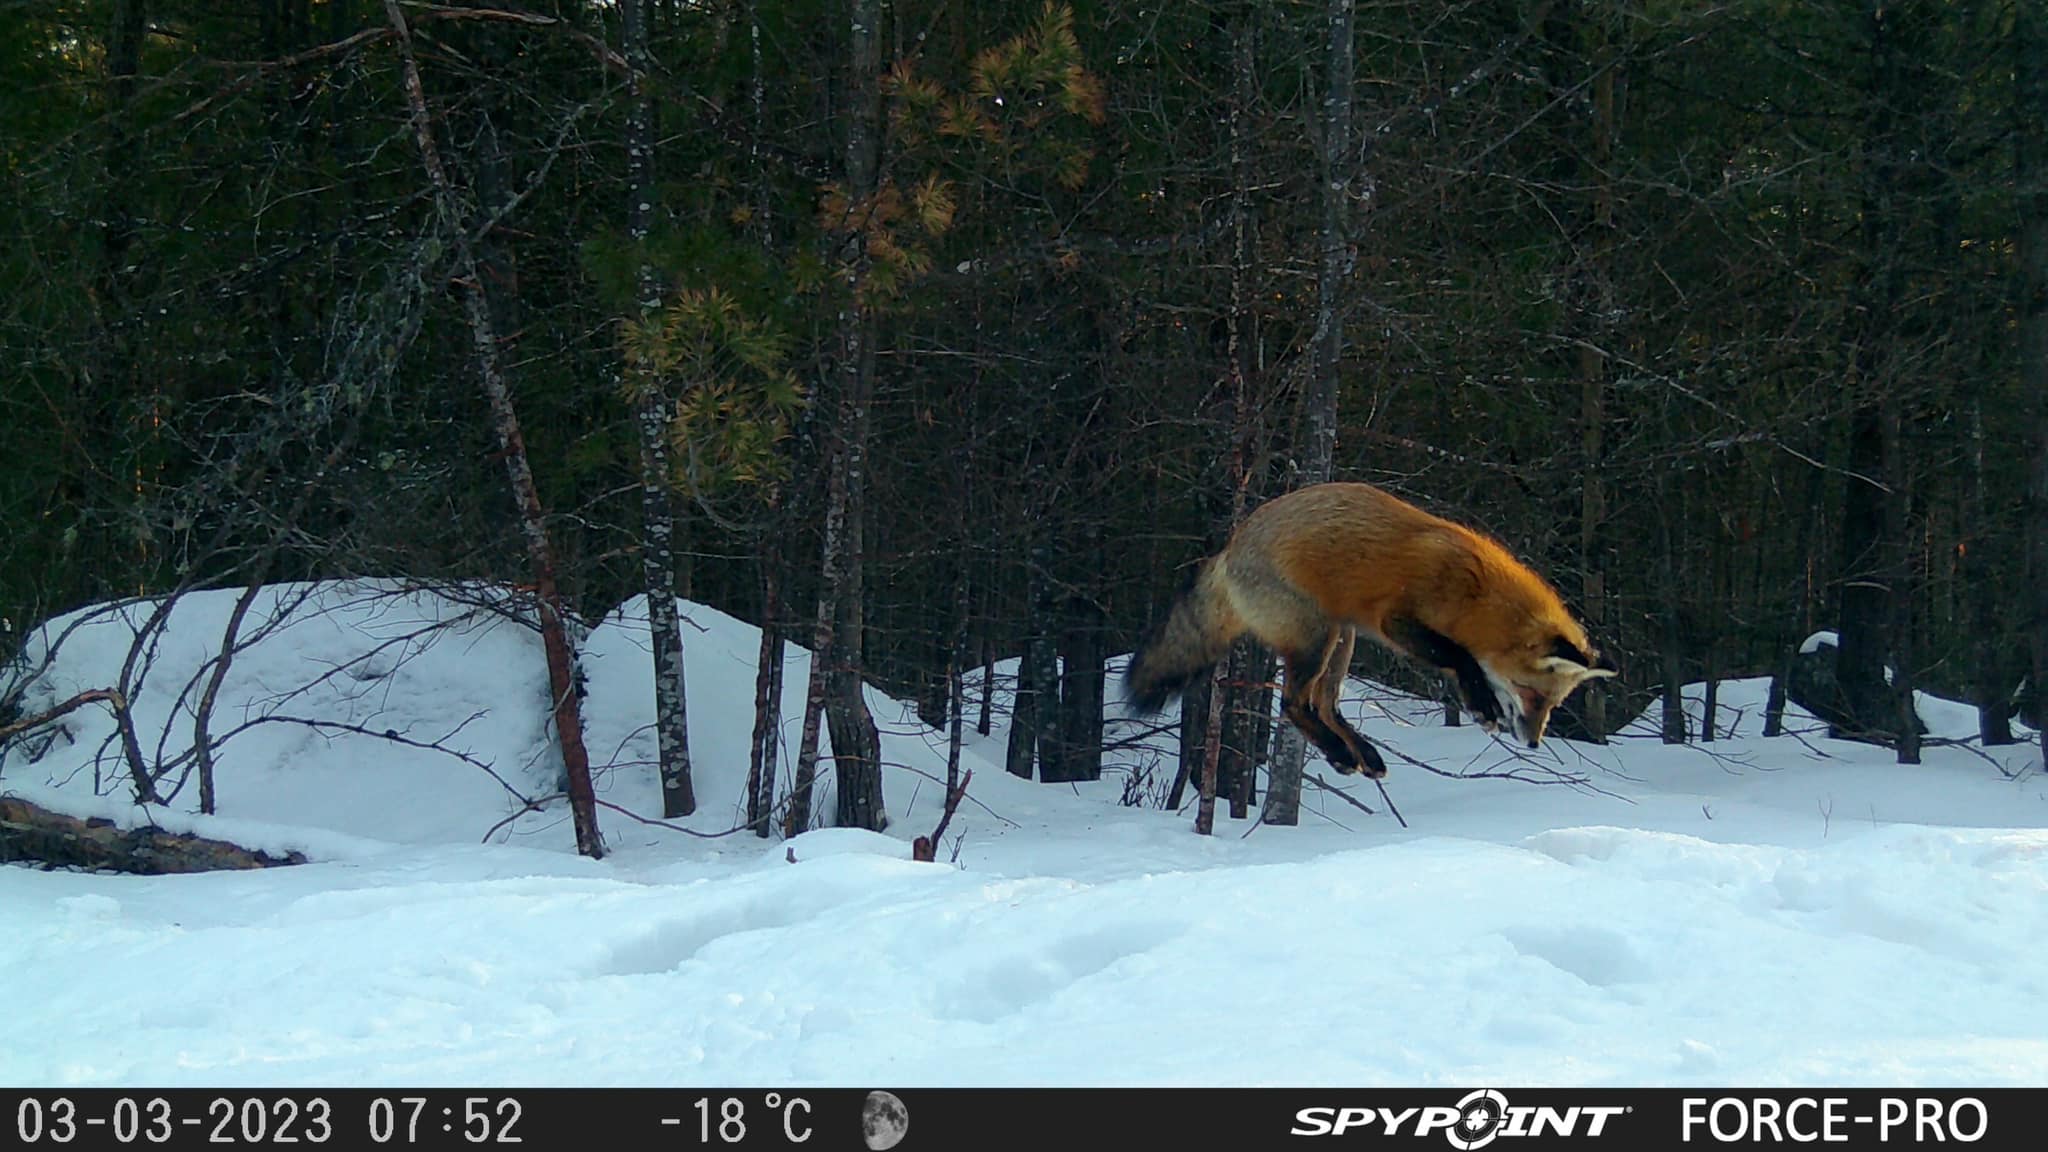
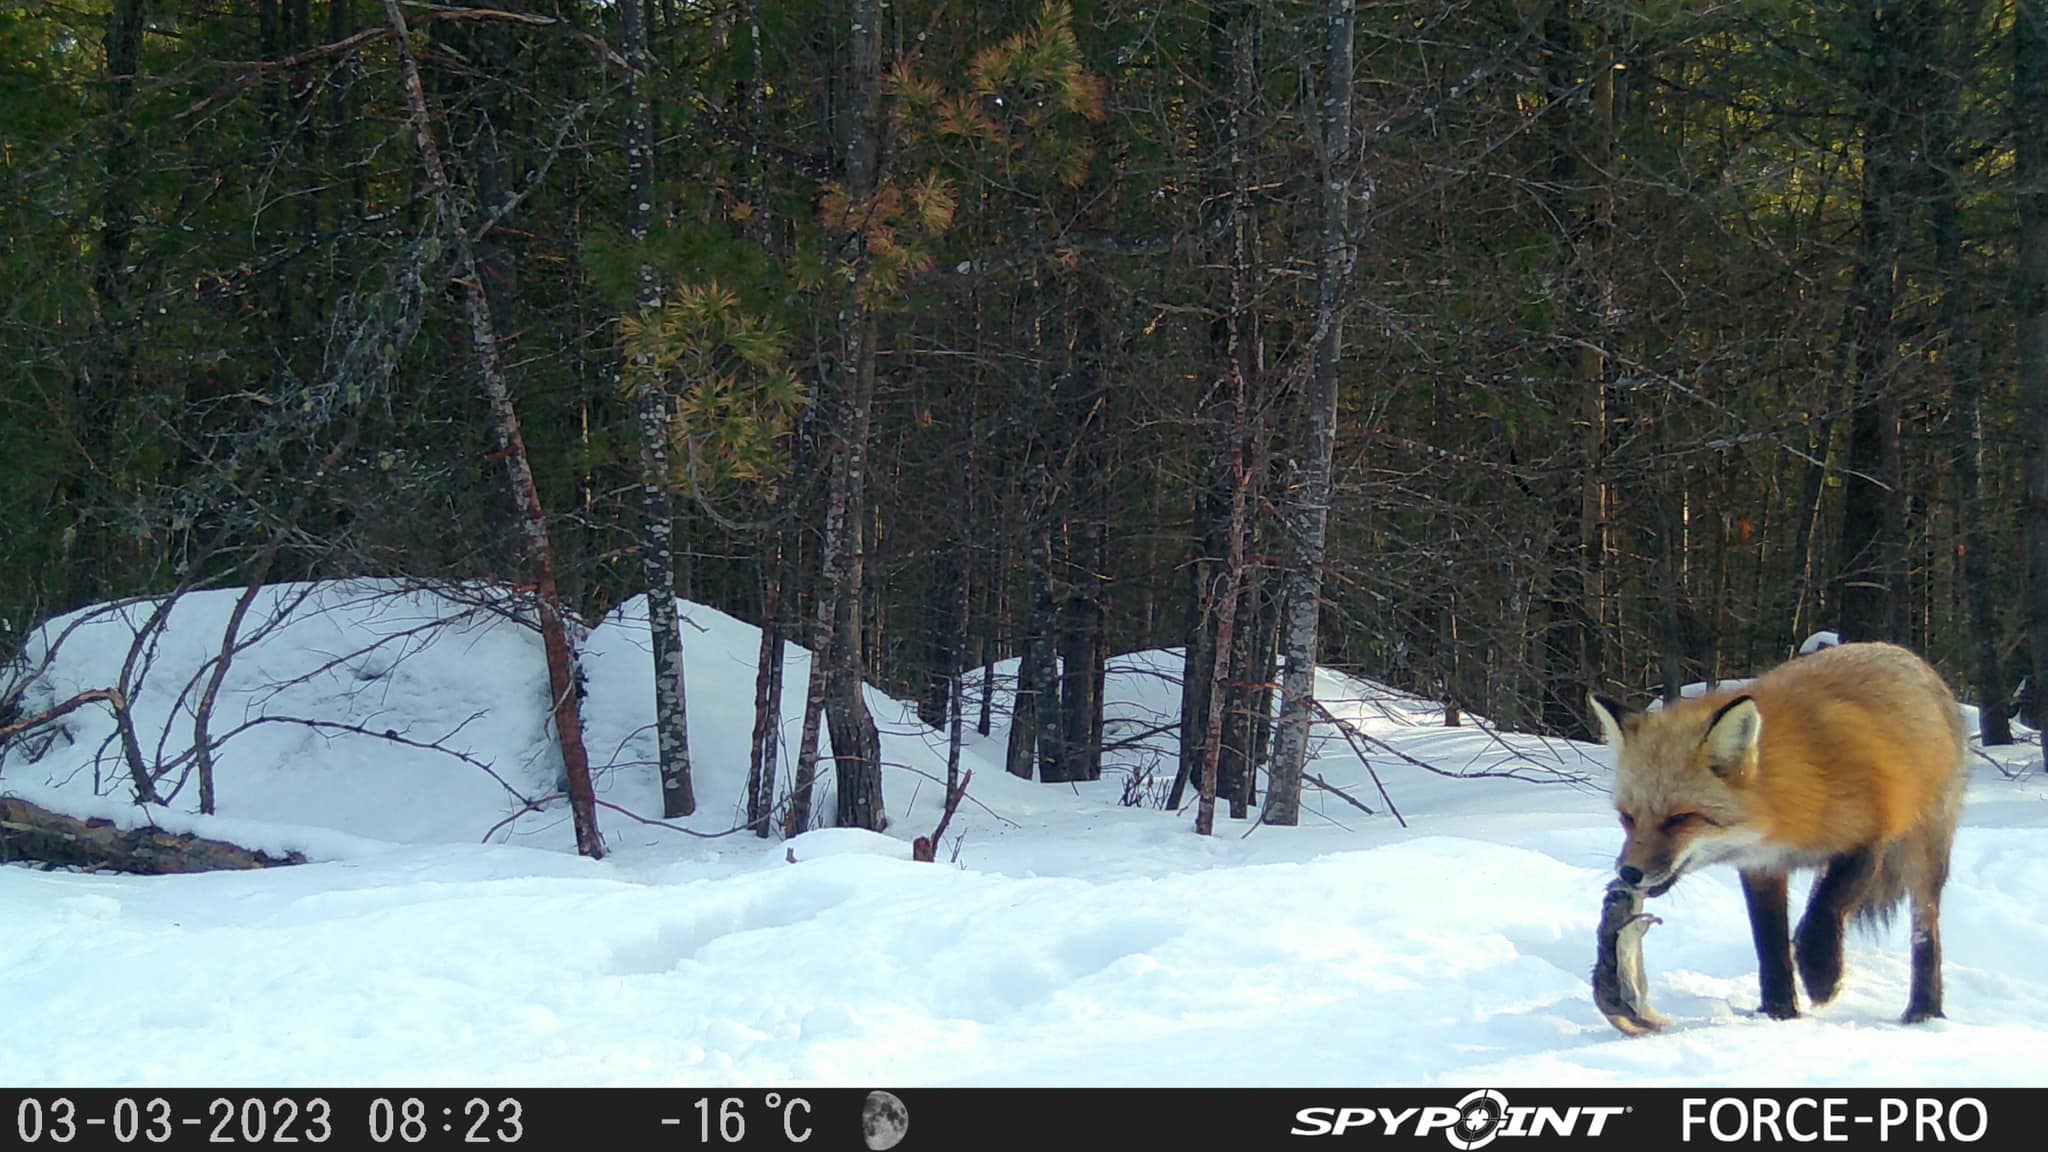
Another user's FORCE-PRO captures a fox catching a snack.
Choosing the Right Data Plan for Your Cellular Trail Camera
A cellular trail camera is a game-changer for wildlife photography and scouting because it eliminates the need to visit your camera to pull the SD card—you can see your trail cam photos instantly on your phone with the SPYPOINT app. But to make the most of this technology, choosing the best cellular trail camera photo plan is essential. The last thing you want is to set up your camera in a high-traffic wildlife area only to run out of photo transmissions.
SPYPOINT offers a free monthly plan with 100 photos, making it easy to stay connected at no cost. If you need more, SPYPOINT’s premium plans are among the most affordable on the market. The unlimited plan, which ensures you never miss a moment, is just $10 per month when paid annually. With a reliable cellular transmission plan, you stay connected to your game and trail cameras, ensuring you capture every incredible wildlife moment without interruption.
Choosing the Right SD Card for Your Non-Cellular Trail Camera
If you're using a non-cellular trail camera, choosing the right SD card is just as important as camera placement. A high-quality SD card from SPYPOINT ensures reliable storage, faster write speeds, and reduces the risk of corrupted files. For the best results, use a SPYPOINT Class 10 SD card with 16GB of storage to handle high-resolution wildlife photos and videos.
Before using a new SD card, always format it in your camera to optimize performance and prevent errors. With a SPYPOINT trail cam, this process is quick and easy thanks to the built-in formatting button. Regularly checking and replacing your SD card helps ensure your trail cam continues capturing incredible wildlife photos and videos without missing a moment.
By following these expert tips—learning about your subject, positioning your trail cam at eye level, and getting creative with your camera placements—and choosing the right data plan or SD card, you'll be set to capture breathtaking wildlife photos and videos that bring you closer to nature. Whether you go with a cellular trail camera or a standard trail cam, the right setup will elevate your wildlife photography experience, ensuring you never miss those special moments. Best of luck on your wildlife photography journey—here’s to capturing stunning shots and unforgettable encounters!