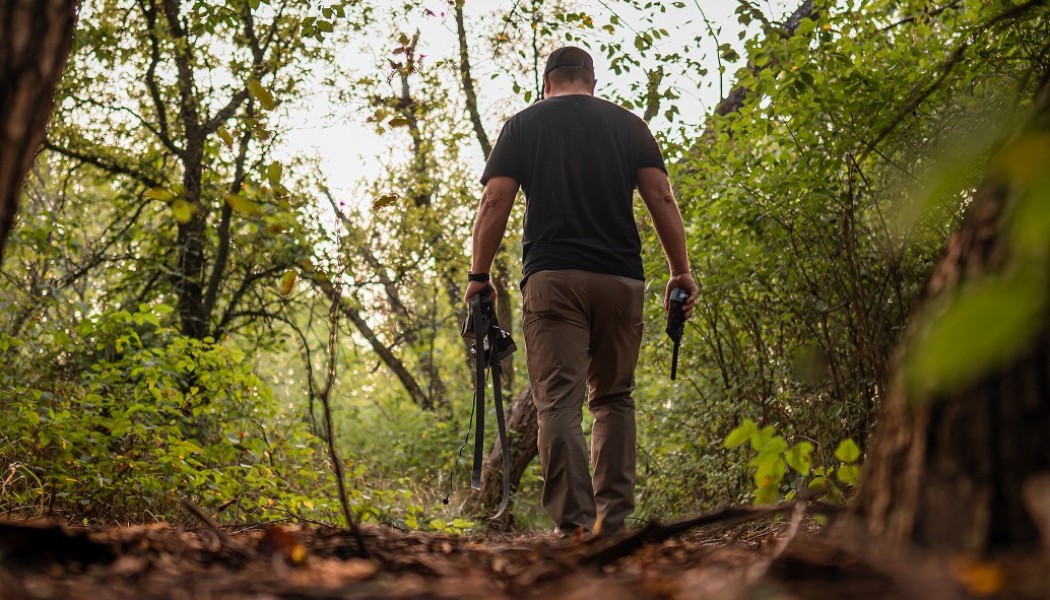
If your hunting season isn’t open yet, it’s coming the next month or so. That means you need to get the last details taken care of in the woods. Trim shooting lanes, check straps on tree stands, mow walking paths, and make sure that your trail cameras are ready to get you well into season.
You could make the argument that the next six weeks are the most important for trail cameras. As the bucks get ready to shed velvet and bachelor groups start breaking up, you’re likely to lose deer you’ve been watching all summer and gain deer you didn’t know were walking around.
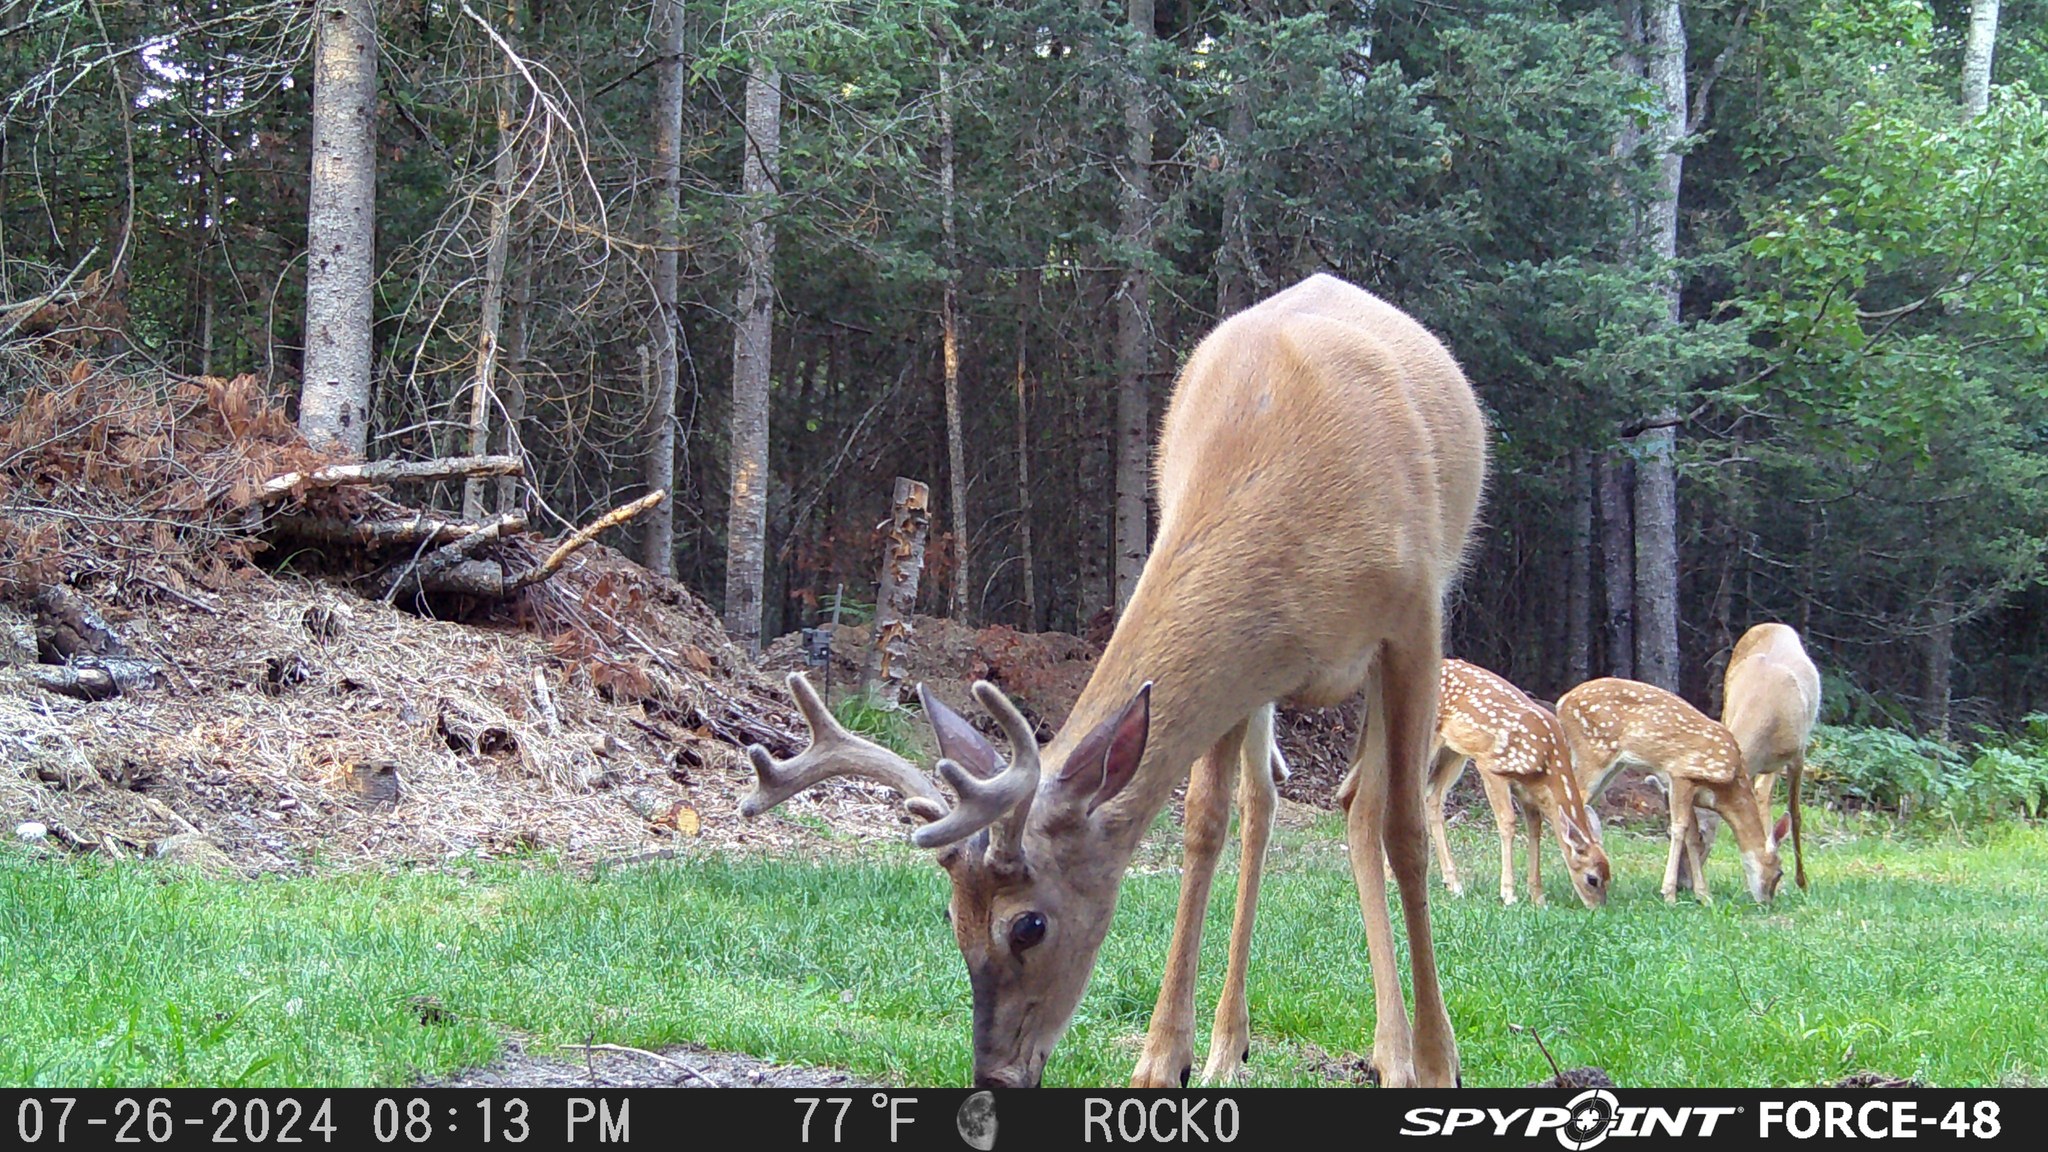
It’s not just social structures that are evolving as autumn approaches. Food sources play a critical part in daily movement this time of year, and they are volatile. As ag crops come down, acorns drop, and soft mast disappears, deer are always on the search for the next reliable food source. From the time the leaves start turning until the last of the snow is gone, they will be in that mode.
The list of things you want to be monitoring doesn’t stop there. Worried about trespassing? Any idea what the coyote population on your property is like? What about furbearers that might hurt your turkey numbers next spring? There’s every reason in the world to ensure your cameras are ready to perform throughout hunting season and beyond.
That old chestnut, “an ounce of prevention is worth a pound of cure,” comes in really handy with this list of things you can do right now to get the most from your trail cameras.
Check and Format the SD Card
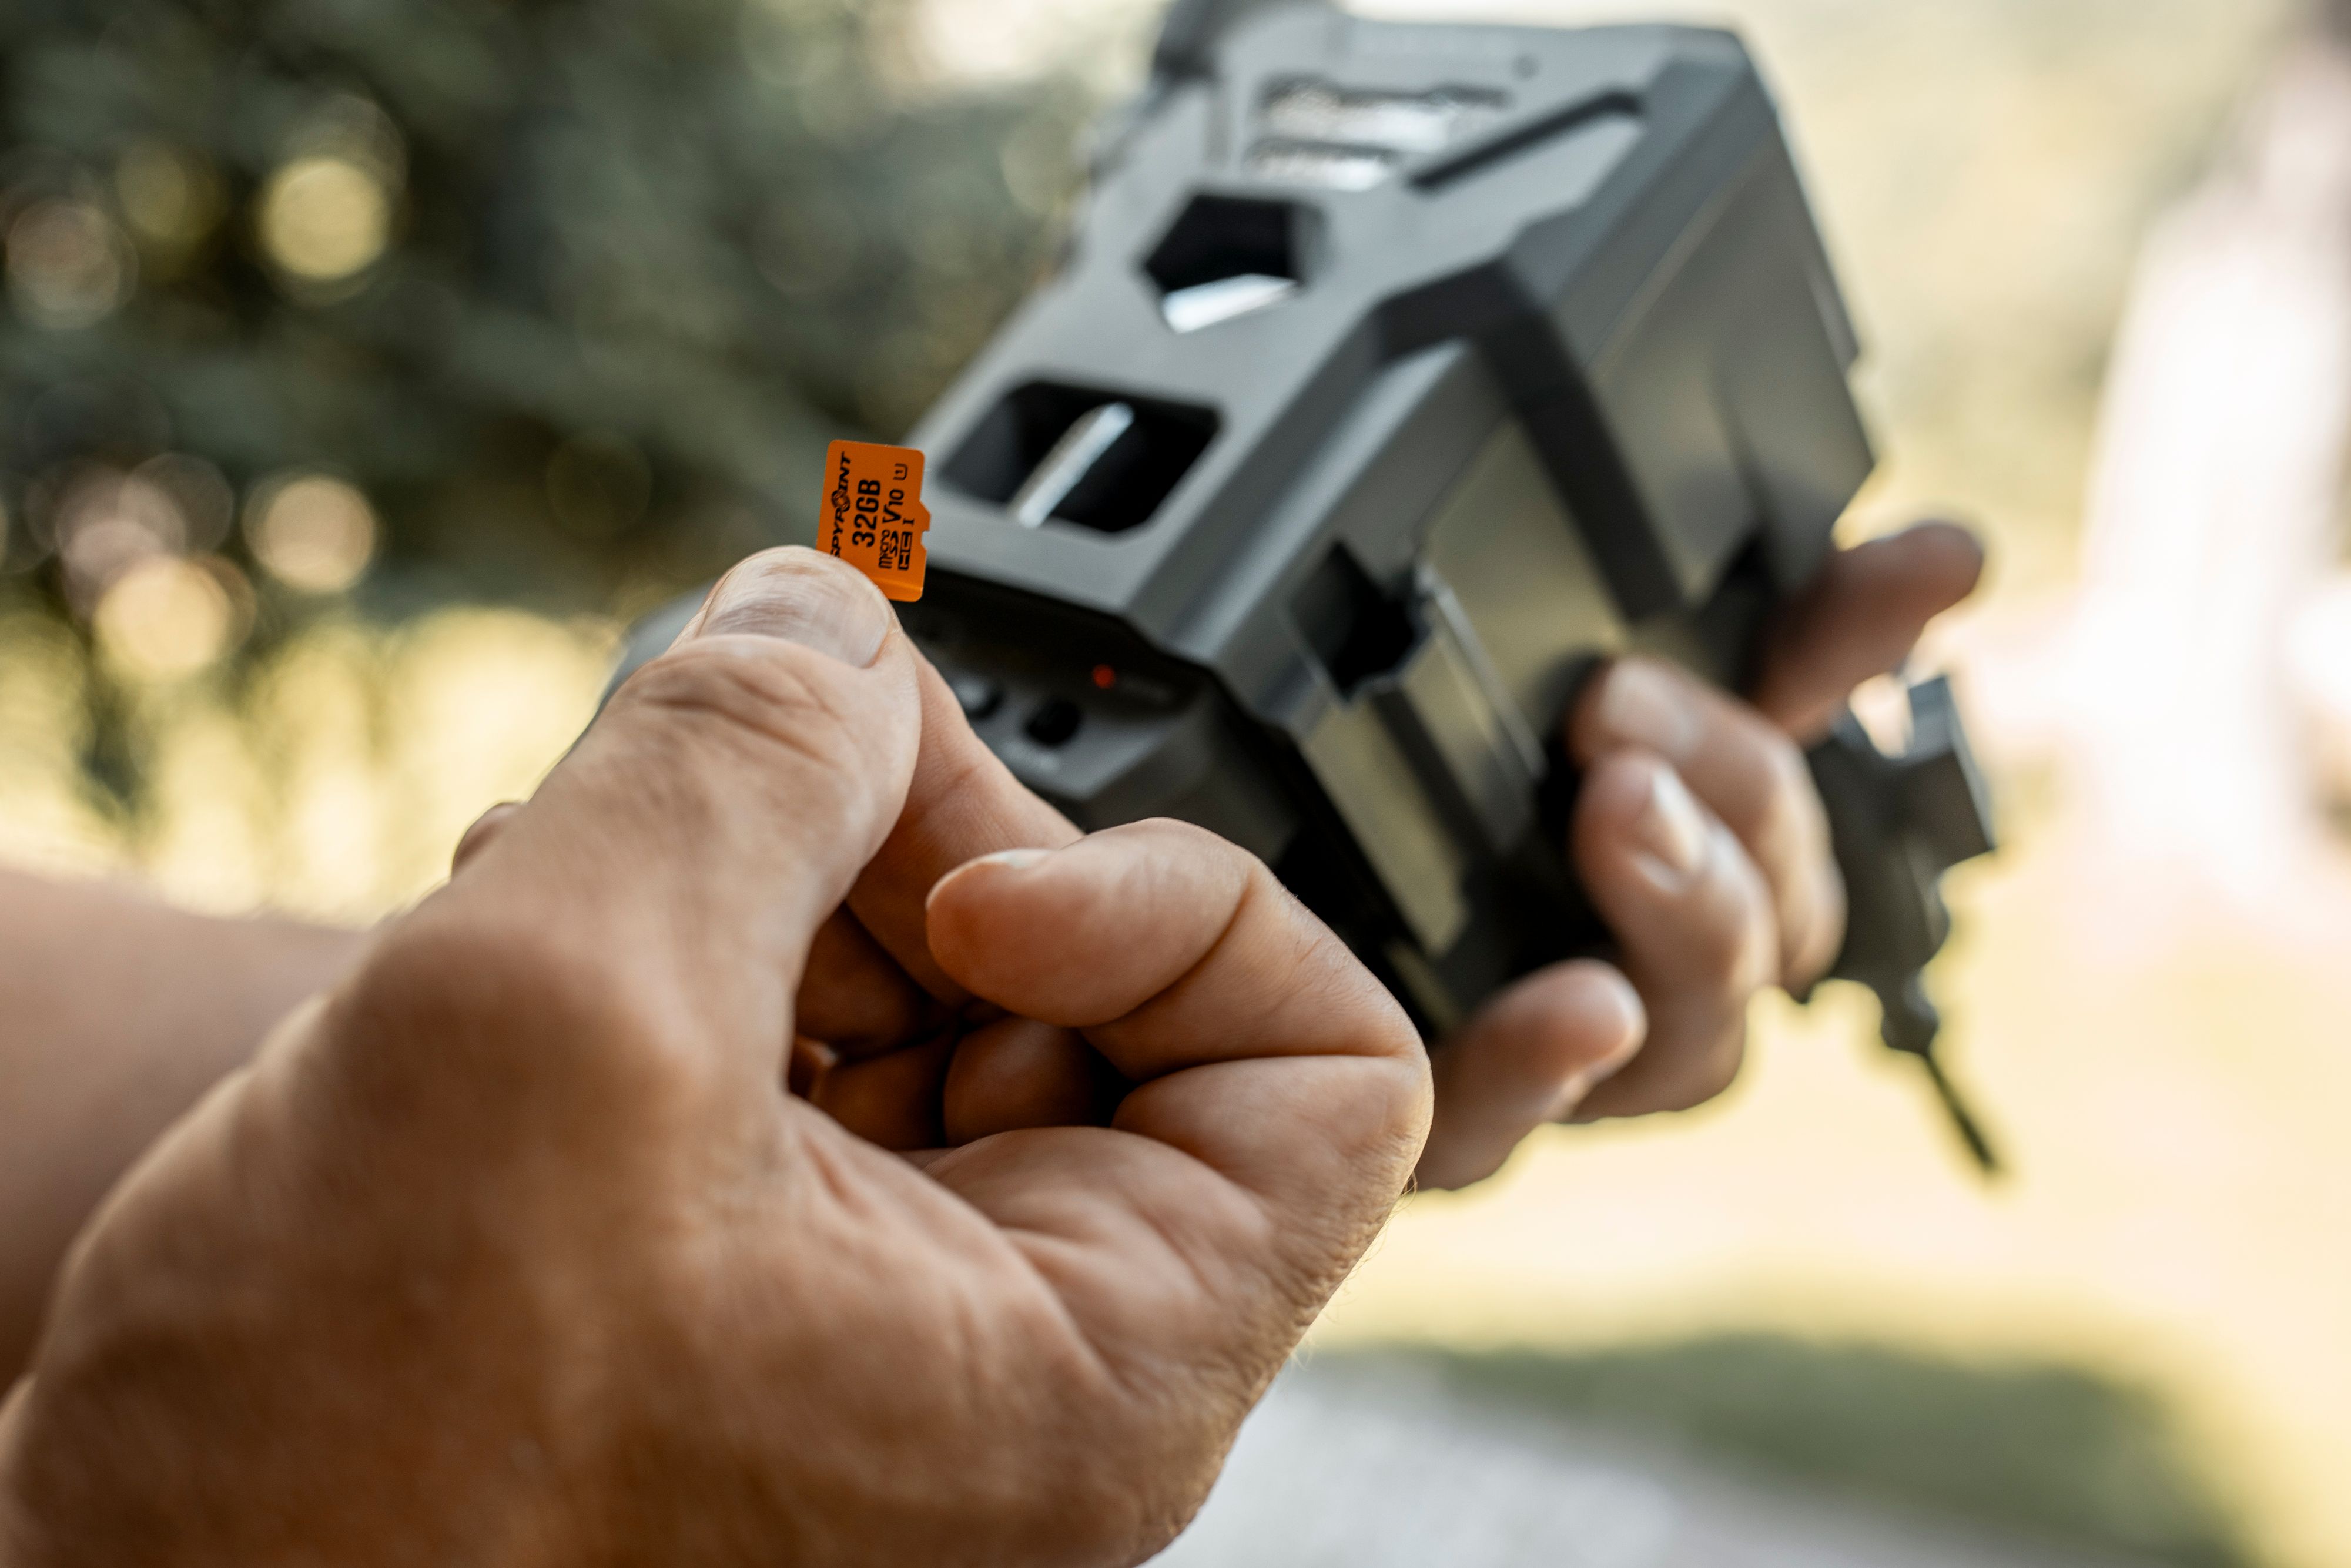
SPYPOINT cameras use standard or micro, class 10, SD cards. The card should be between 2GB and 32GB in size. A microSD card should never be used in an adapter in place of a standard-sized SD card. Before installing an SD card, you should long format it to make sure it is ready to function in your camera.
It’s a short list, but making sure that your SD card is up to snuff is the first thing you should do. The camera is going to store every image it takes on the SD card. If the SD card is the weak link in your system, you may be in for some dire consequences.
Does class really matter?
Yes, it does. Think of it like this, SPYPOINT cameras are designed to use class 10 cards to perform at their best. Using a card with a class rating of less than 10 is like putting pump gas in a NASCAR. Sure, it might run a few laps, but chances are, performance will suffer, and when you need it most, you’ve opened up the possibility of a failure.
Use the right card, the right way, from the beginning and you should enjoy hassle-free performance.
Check and Update Firmware
Compare the firmware in the SPYPOINT app on your camera's status page with the latest version listed in the support section of the website. If they are the same, you’re in good shape. If not, updating is a good idea. The good news is that since you just long formatted your SD card anyway, you can drop the new firmware right onto it and get it updated. It’s a simple procedure that we explain in this video.
Updating firmware isn’t fun, but it also isn’t difficult. Firmware updates are done for numerous reasons, but they all revolve around getting the best performance out of your camera.
It might surprise you, but even non-cell cameras have firmware updates. If you aren’t checking for those you may be leaving camera performance on the table.
Not only that, it isn’t just SPYPOINT cameras that have updates for cellular and non-cellular cameras. If you’re running any trail camera, it has firmware, and the firmware needs updating, just like your phone. Do it now, and your camera should make it through the season without needing further updates, so you can keep getting intel from the field.
Replace Batteries
If your camera can’t stay on, it can’t take pictures. Replace your batteries with premium-brand lithium or alkaline batteries, then make sure that the battery you are using matches the battery option selected in the advanced settings tab of the SPYPOINT app. This will ensure the most accurate battery status readout when you check it in the app.
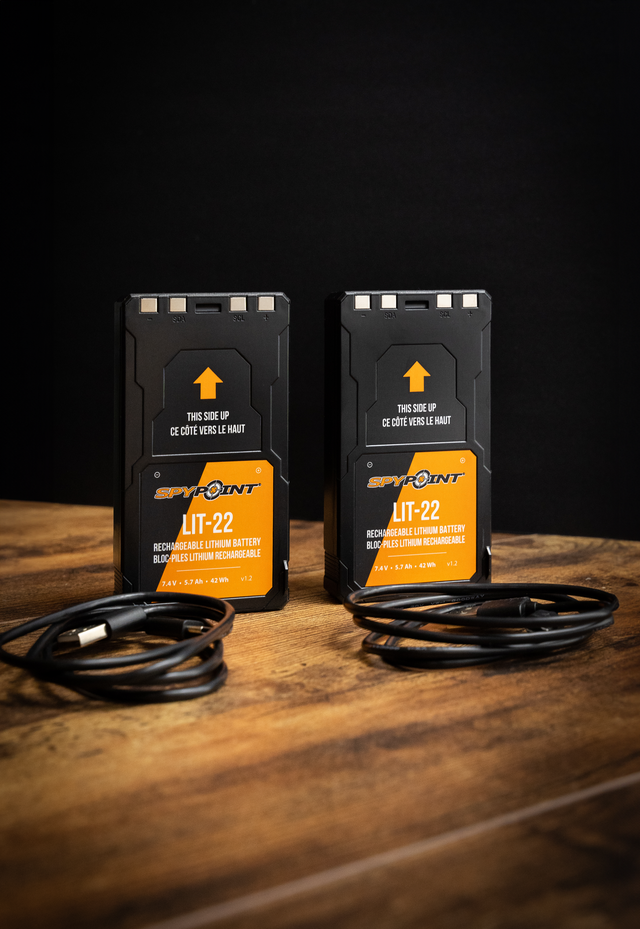
For the MICRO family or your CELL-LINK, you can also use the LIT-10 battery pack, which helps extend battery life beyond what you would get with a set of AA batteries. Not only do you get longer battery life for your trail camera, but you also save money over time by not replacing AA batteries several times throughout the year.
SPYPOINT offers multiple battery and power options for its lineup of trail cameras, and you can learn about all of them here.
Can you use cheap batteries? Sure, but the chances of having an issue become more likely when you go with the discount options.
Stick with quality batteries and replace them right before the season opens up to keep you going well into autumn.
Clear Obstructions
Hunters deal with doubt all the time. Am I in the right stand? Did my kids mess with my scope? Did I forget to pack a snack? Is there another buck coming behind this one? It can be maddening.
The last thing you want to doubt is whether the picture your camera took with nothing in it missed a big deer or was just that pine sapling blowing in the wind. For the most part, you can limit these false triggers by clearing obstructions from the front of your camera or placing it deliberately in places where false triggers are unlikely. This isn’t always possible, but generally, if you look around the area where you want to place a camera, you can find an option that limits potential headaches. Of course, a little work with a machete or chain saw can help a lot, too.
In my experience, the biggest offender is overhanging limbs. This is mostly because I think about the grass out in front of the camera, but not what might be hanging in front of the camera from the tree, especially when watching scrapes. Sometimes, we just have to deal with it.
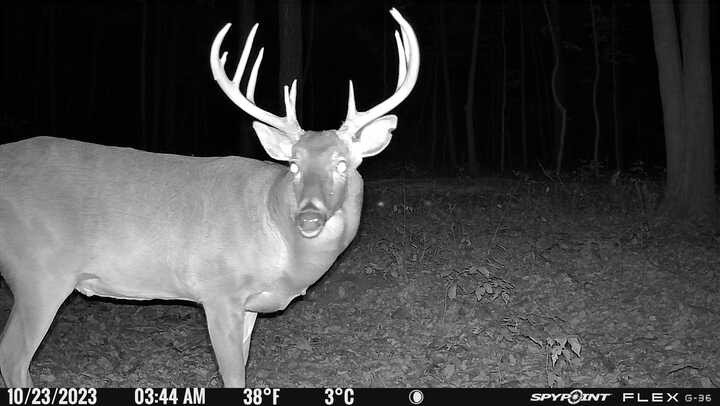
I’ve quit hanging a camera in one particular spot where a walnut tree has just too many branches that move too easily. I can’t remove all the issues, so I found a new spot.
Want more tips for getting the best picture from your trail camera? Here’s a video covering camera placement best practices.
Double Check Settings
If there is a place where many hunters drop the ball, it’s their trail camera settings. We already talked about making sure you adjust the battery type to make sure you’re getting the best representation of your battery life, but there are some other things you should check as well to make sure you are maximizing performance and battery life.
Chances are, you have cameras in different types of locations. Some on trails, some on food plots, some on feeders or mineral sites, transition areas, the list goes on. First, you should be placing the right camera for the job in those locations, but you also need to make sure you’re using the settings that make the most sense for these locations.
What does that mean?
If you are monitoring a food plot, feeder, or mineral site where a deer is likely to linger, do you really think you need a three-shot burst on a ten-second delay? If a deer is there for four or five minutes, you might get 60 photos of the same deer. This is going to tax your battery, your SD card storage, and your photo transmission plan.
On the flip side, multi-shot mode is great on a trail or transition area where deer are moving. Shorter delays are also helpful for catching and capturing the lollygaggers, who all too often tend to be the big boys.
Another setting you will want to watch is your sensitivity. In most instances, low is going to work fine. We just talked about false triggers. If you find yourself getting a lot of photos of nothing, check the sensitivity.
The setting you need to think about most is your transmission frequency. Finding a balance between too frequent and not frequent enough can be tricky, and there are a lot of things that factor into the decision. In general, I avoid one time a day, because I want to see pictures more often than that. I also avoid transmitting with every detection because it very taxing on battery life. The other problem with each detection is if there are no photos taken, you may be almost a full day away from the next scheduled communication. So, if you want to change any other setting, it may be a while before it takes effect.

During the off-season, I run a lot of cameras on twice a day. Once we get to September though, it’s time to up the frequency. Six or 12 times a day is the rule for me once season hits. It lets me focus on patterns more diligently, and I’m less concerned about batteries, because I’m going to be in the woods more now than at any point in the year. If I only get two months, instead of four, out of a set of batteries, it’s not the end of the world.
Another trick when it comes to transmission frequency; increase your transmission frequency when the camera is in an area that doesn’t have the best signal reliability. It may seem counterintuitive at first, but think about it: cellular signal can vary quite a bit over time. Where you have a perfect signal in the morning, might have terrible service in the afternoon. If your camera is only trying to send photos one time per day, and that time happens to be bad, you’re out of luck until the next day. On the other hand, if your camera is trying more often, it might not succeed every time, but the next attempt is coming much sooner, which means you’re more likely to get your photos sooner.
Upgrade Your Photo Transmission Plan
Last, but definitely not least, is look at your photo transmission plans.
The last thing you want this time of year is to be missing information. If deer are moving or are in the area, your camera is capturing them, but if your photo transmission plan isn’t getting you the photos as they happen, how much help is it? You’ve got a few options.

First, if you just want to always know that you get what is coming in from the field, and you want to maximize your value, the Premium Transmission Plan is the way to go. The $10 Truly Unlimited plan delivers every photo your camera takes, all year long. If you aren’t leaving your camera out all year, and think that option isn’t for you, maybe you should consider it, even if it’s only for a few of your cameras. Monitoring sheds dropping, fawn recruitment, predator numbers, and even potential trespassers all year long can help you make better decisions as fall approaches.
The Standard 1000 and Basic 250 plans are good options if you know your camera isn’t taking more photos than that every month. It lets you save a little money, and still get the information that you need. Of course, you can go month-to-month or annual, but again, trail cameras in your garage don’t do you any good. Consider annual plans, not only to save on the monthly average, but to stay informed about your hunting property all year long.
Lastly, if you want to run free plans you can still go from 100 to 250 every month by becoming a SPYPOINT Insiders Club member. SPYPOINT Insiders get automatically upgraded to the Basic 250 plan for all their cameras. When you factor in all the other benefits of the Insiders Club, if you don’t want to go with paid plans for all your cameras, this may be your best value.
Don’t forget, when you become an Insiders Club member, one of those perks is 20% off your Photo Transmission Plan purchases no matter how you buy them.
There are a lot of things to consider this time of year, and final preparations to make. If you aren’t taking the time to plan out your trail camera strategy, you aren’t maximizing the single greatest scouting tool you have this fall. Hopefully, you already do these things. If not, sit down and really evaluate your approach to getting your cameras ready for the home stretch, as well as the settings and plans you are using to stay informed.
A little bit of effort and investment now may well lead to the best season you’ve ever had.


