Many trail cameras have a video mode option these days, but when is the right time to use them? Here’s a list of our top options.
Trail cameras are full of features that hunters don't fully understand, or know when to use. I often hear hunters discussing or asking, why use video mode? When should I use video mode? What can a trail camera video tell me that a photo can't? Like most answers in the hunting world, there is no hard and fast rule, but there are some guidelines that make sense that can help a hunter decide if video mode is right for them or their situation.
Late Pre-Rut Scrapes
What We Love: That week or two that the scrapes get really hot before breeding kicks into high gear is probably the best time of year for hunters to see the most bucks. Bucks start traveling more and they are hitting every scrape they can find. Video gives you a good chance to get multiple angles at a deer as he turns his head to lick and rub branches or paw the earth. As a bonus, because the buck is so focused on the scrape, he’s less likely to notice the camera, especially if you conceal it at all. Unlike a mineral site, deer don’t often linger a scrape, they freshen it and move on. This helps cut down on videos of the same deer for 20 minutes, using up photo count or making you download HD videos to see what you have, only to see the same deer working the same site for an hour.

What We Don’t Love: Scrapes are usually on overhanging branches, and overhanging branches blow in the wind. Does it lead to a lot of false triggers? It can. Taking a lot of videos of a licking branch blowing in an October windstorm isn’t ideal, but it’s the price we pay for that sweet, sweet big buck video.
How To Execute: Hopefully you already know some of the most popular scrape areas on your property. If you wait to see them open, you’ve already missed some of the best action. I’d always rather be a week early to be on scrapes than a week late. Once we get to October, start thinking about moving at least a portion of your cameras onto those scrape lines that you know fire up first, or get the most action. Shooting on video mode gives you the best look at what bucks are cruising, and because you’re already on rut watch, you’ll be among the first to know when things are about to kick into overdrive.
Near a Primary Stand
What We Love: We don’t like to be surprised when we’re in the tree. As much information as we can get before we go make that sit, the better. If you have a stand that you know you are likely to use more than others, because of favorable winds, historic deer activity, or available food patterns, video mode can be invaluable. This is especially true of areas with multiple possible trails. Trail usage evolves as the year goes on, being in video mode, even if you can’t see every trail, seeing video instead of photos can usually give you a pretty good idea of where the most recent deer activity has been focused, so when you sit that stand, you know where to key.

What We Don’t Love: Some hunters don’t want cameras anywhere near their stand. They don’t want to have to go in to service a camera if something goes wrong, or to give the deer any hint that they may be being hunted in that area. Good planning and camera mounting techniques can limit these concerns, but everyone hunts differently, and if that’s a concern of yours this may not be right for you.
How To Execute: This is a season-long camera location, with focus on video in the day or two leading up to a hunt, or if you’ve got some vacation stored up, you’re planning to use for an extended run of hunts. Personally, I like a mix. I have a few stands I like to have cameras a little closer to, and some are more remote. A lot of that strategy comes from knowing how deer use the property. If I can capture them in one place and it’s more than likely I will see them somewhere else, then it’s less important to have redundant cameras along that travel corridor. Where it becomes very important is where the deer have multiple options to evade your stand, or several of your stands. Use the map feature in your app to key on those stands in locations where one camera can tell you more than one thing or help eliminate big pattern shifts. Then when things really heat up, switch to video mode to fill in all the little details of how those deer are moving.
Water Crossings
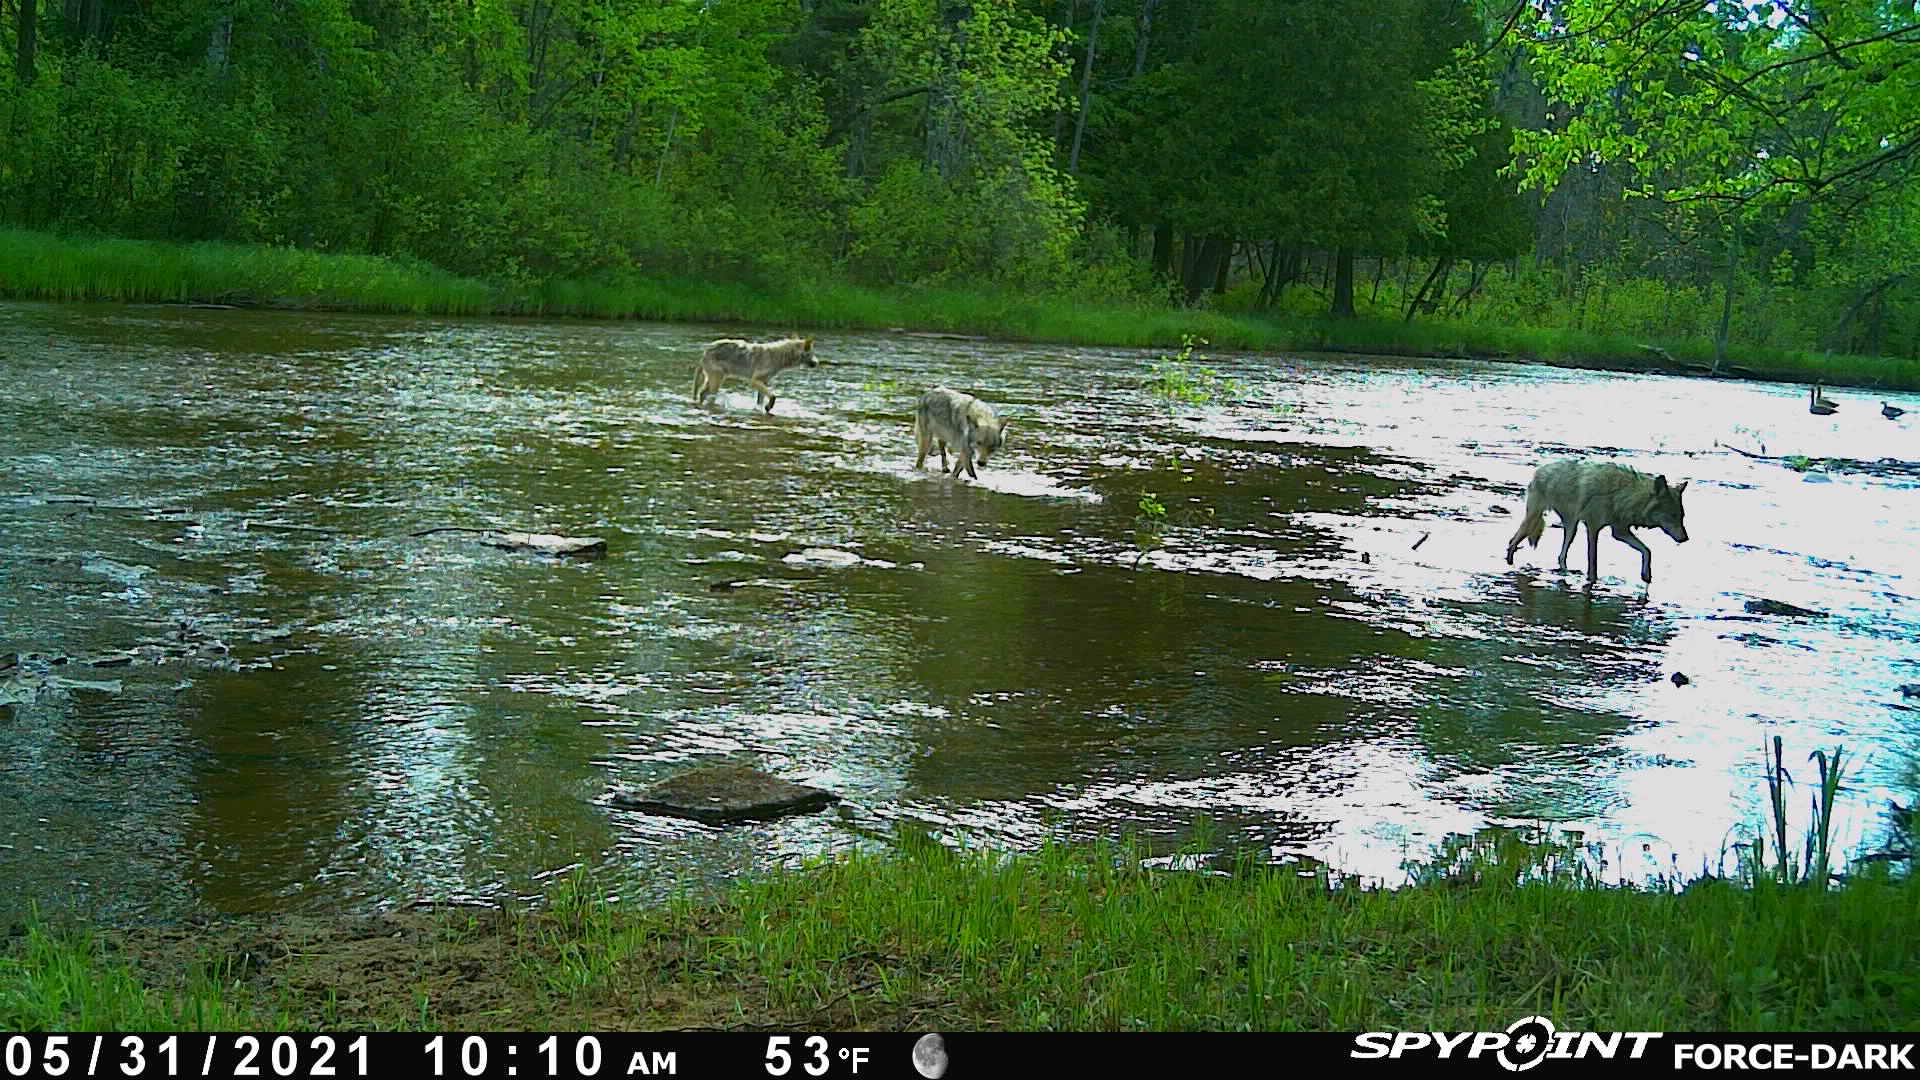
What We Love: It isn’t all about the deer! When you find a spot where animals cross a stream or ditch, it often gets used by many animals. This is an especially good spot in spring or early summer when you aren’t keyed on velvet growth yet but want to get a better idea of what is happening at your property in general. Many a hunter has found they had animals frequenting their property that they never expected by watching water crossings.
What We Don’t Love: It’s not deer-focused necessarily, but not everything has to be. It can be a VERY high-volume setup though, so if you aren’t running an unlimited plan, you may want to while the camera is on the crossing. If you’re strapped for cameras, it may seem like a bit of a waste, but it can provide a lot of information about your property you didn’t know.
How To Execute: This can be tricky, especially if it’s prone to wild fluctuations in water levels. That’s the first consideration, make sure you are above historic water levels. You don’t want to flood out a camera. Just like setting on any trail, it’s very important to make sure you have a good angle to allow for a good trigger. Luckily, it’s tough to set up perpendicular since you’d likely be in the water. If you’re able to get the camera alongside a bush or some other concealment it’s best, but animals are typically pretty focused when making a water crossing because they are more exposed than at other times. If there’s a downed log for smaller animals to cross be sure you have a good view of it. Some of the best photos and videos from trail cameras we’ve ever seen have been on logs crossing a stream or ditch.
On Traps
What We Love: With more and more people getting back into trapping as a habitat management tool, there’s a learning curve for people who are new to it and didn’t have a mentor. Nothing is more frustrating to a new trapper than seeing tracks and sign all around their trap, but no coyote or raccoon in it. The information that actual video of an animal working your set can give you is absolutely irreplaceable. Nothing can flatten the learning curve quicker or provide more insight about how to counter those wary furbearers than seeing them reach to a set. In the photo below I can tell that the coyote walked right by a trap that was set for it, but I don't see how it interacted. Video mode would have helped a lot.

What We Don’t Love: We mentioned how wary furbearers are right? Where and how the camera is mounted is critical. It’s pretty easy to fool deer, but consistently getting coyotes on camera when they are the target is a whole other ballgame.
How To Execute: Camera angles are key. You will want to be able to see the set and the area around it without being too close. If you’ve ever seen an animal work a set, they aren’t always close. You want as much information as possible. Crowding the trap with a camera too close is likely to mean the animal gets nervous and possibly spots the camera.
Video mode isn’t for every hunt and every situation, but there are certainly some key times and instances where video mode can shine. Sometimes it’s getting a better look at the animals, while others it is to see the animals in motion so you can narrow down exactly how the ended up in frame. Sometimes it’s just using another tool to learn about your property or the animals that call it home.
This isn’t a complete list though. Think about your property and the benefits of video mode and if you may be able to learn a little more from some moving pictures than the still ones you’ve been using.