Still packing a whitetail tag?
Here is your blueprint for deer hunting during the late, late season Killing a late-season buck is an art, but it’s a repeatable one once learned. A lot of states offer great deer hunting during January and February. Here is your outline for killing a mature deer right at the buzzer.
Step 1: Find Good Grub
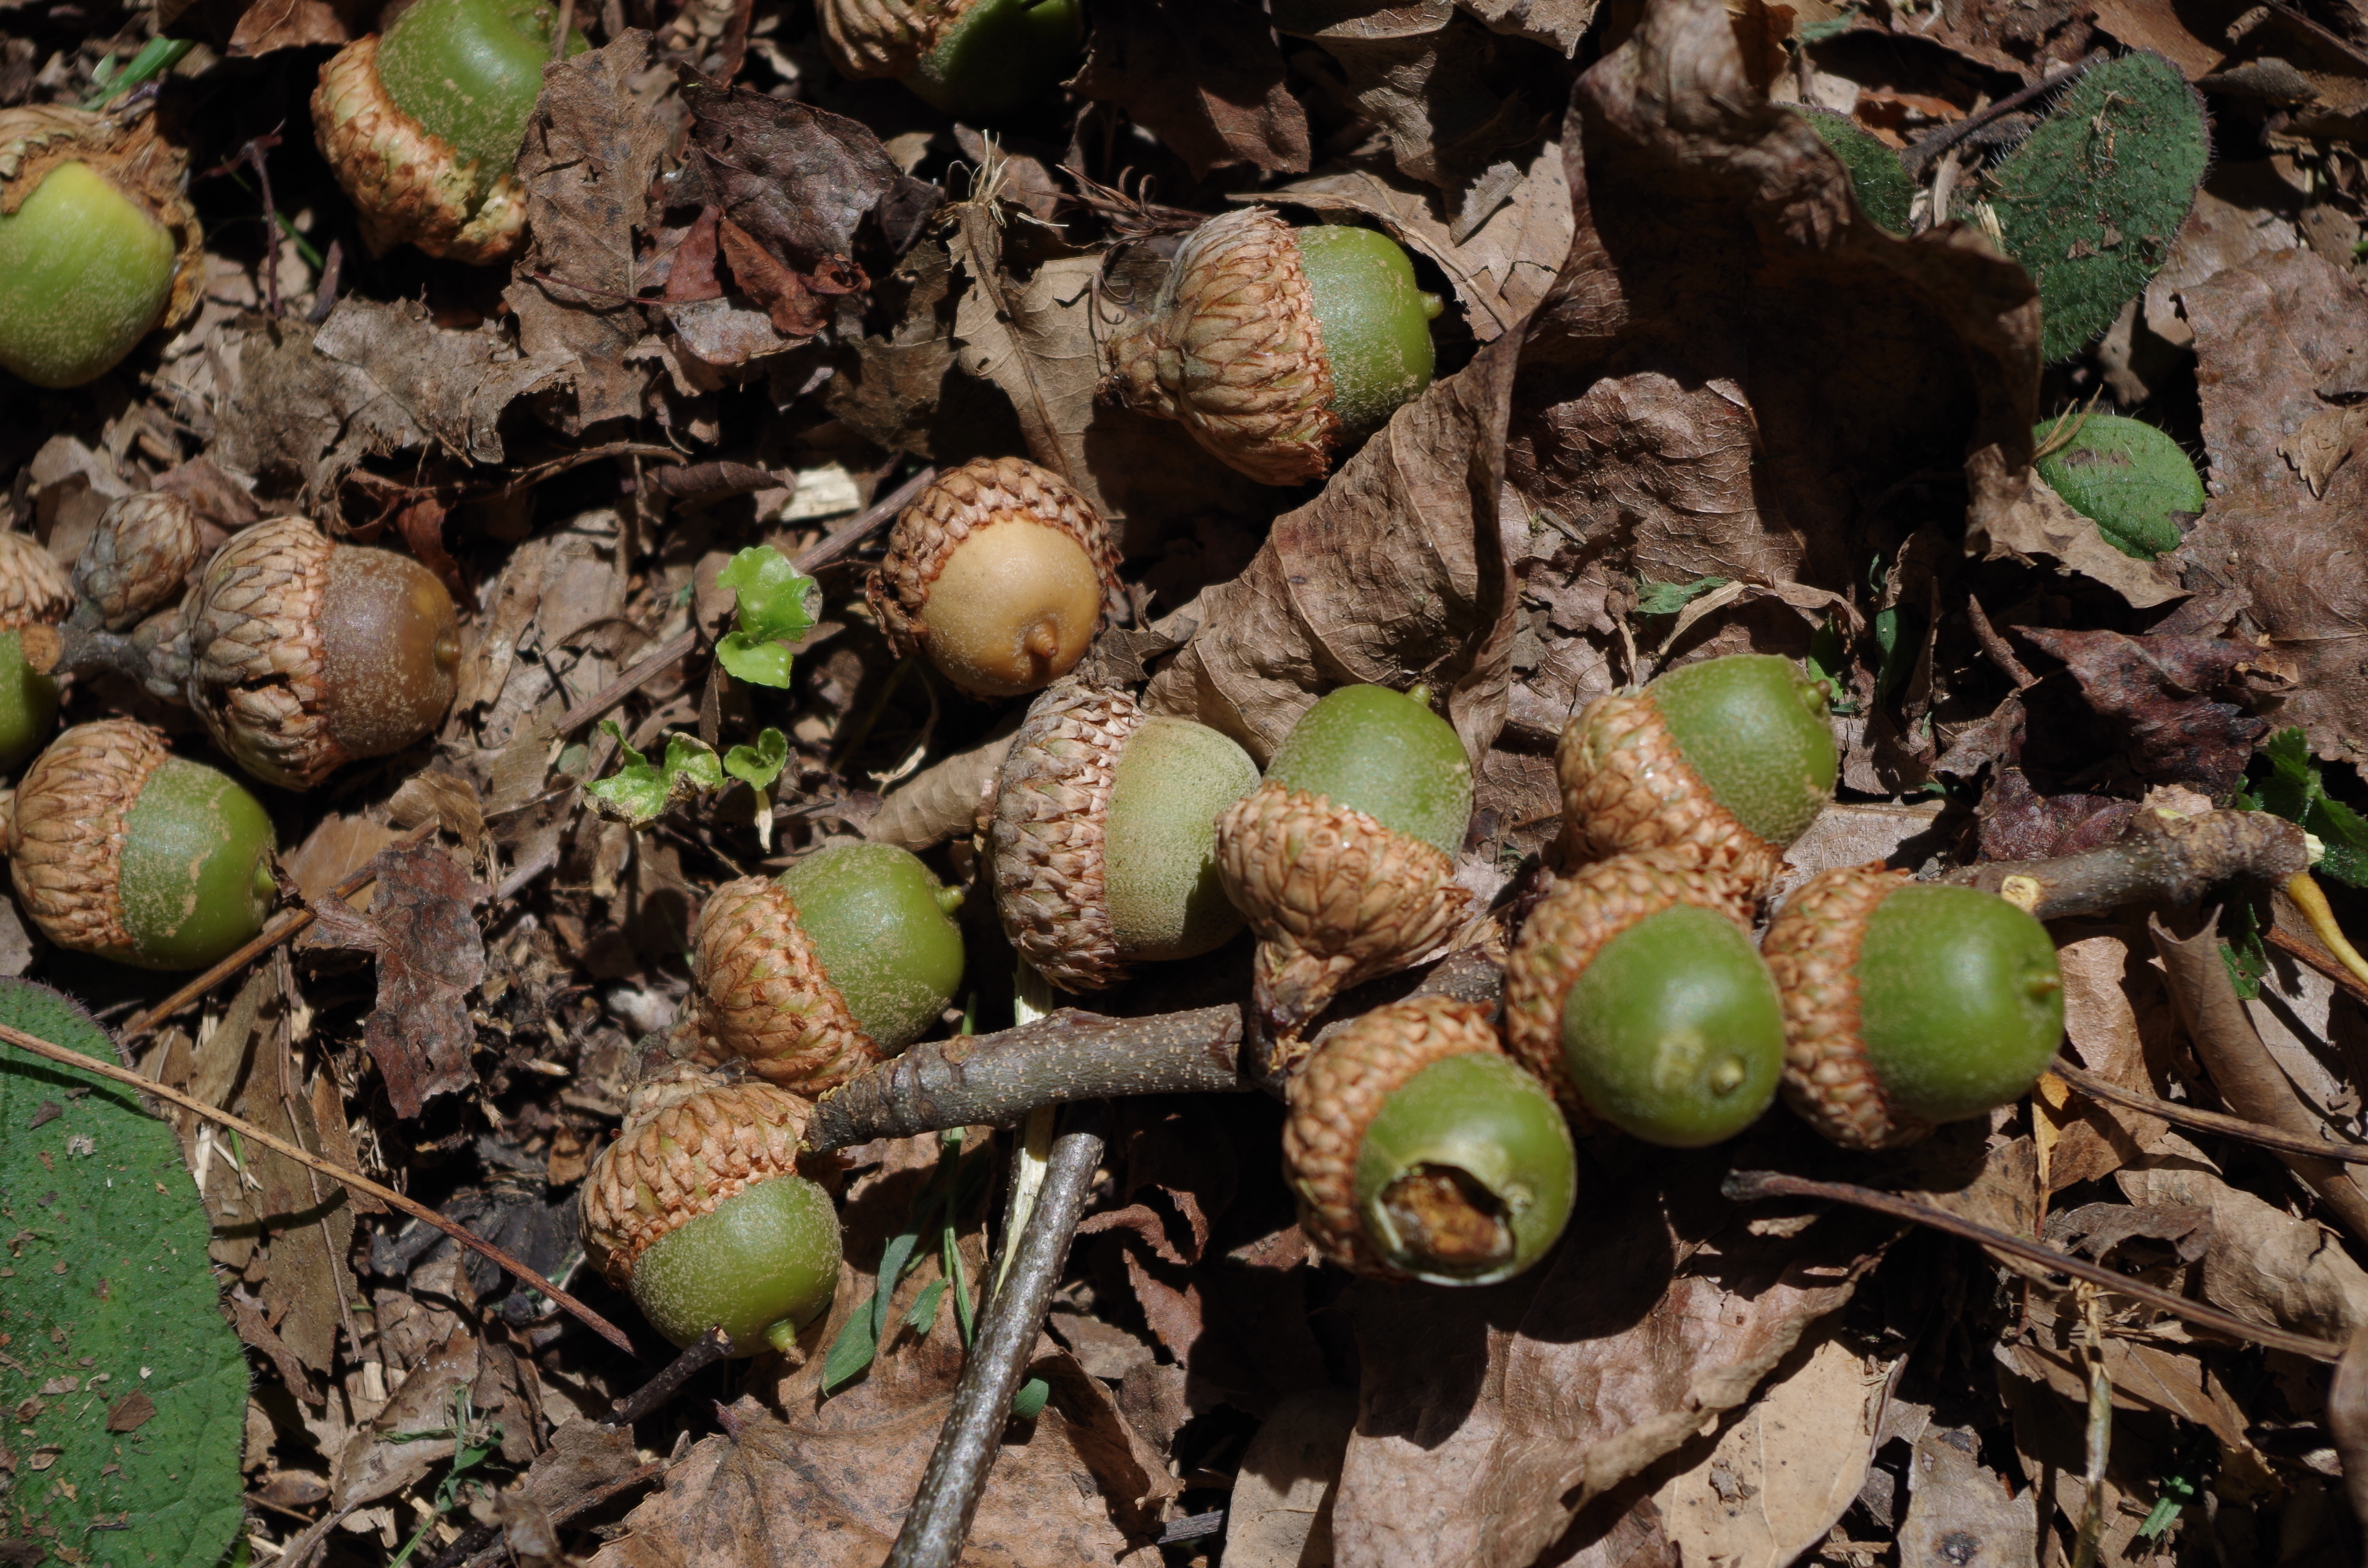
The late season is largely about good food. If you have quality food sources, chances are good you have some good deer around. There are certain food sources to focus on, though.
Due to their high levels of carbohydrates, grains are big this time of year. These provide a high volume of energy deer need to make it through the cold days of winter. Think corn, soybeans, oats, and other popular sources.
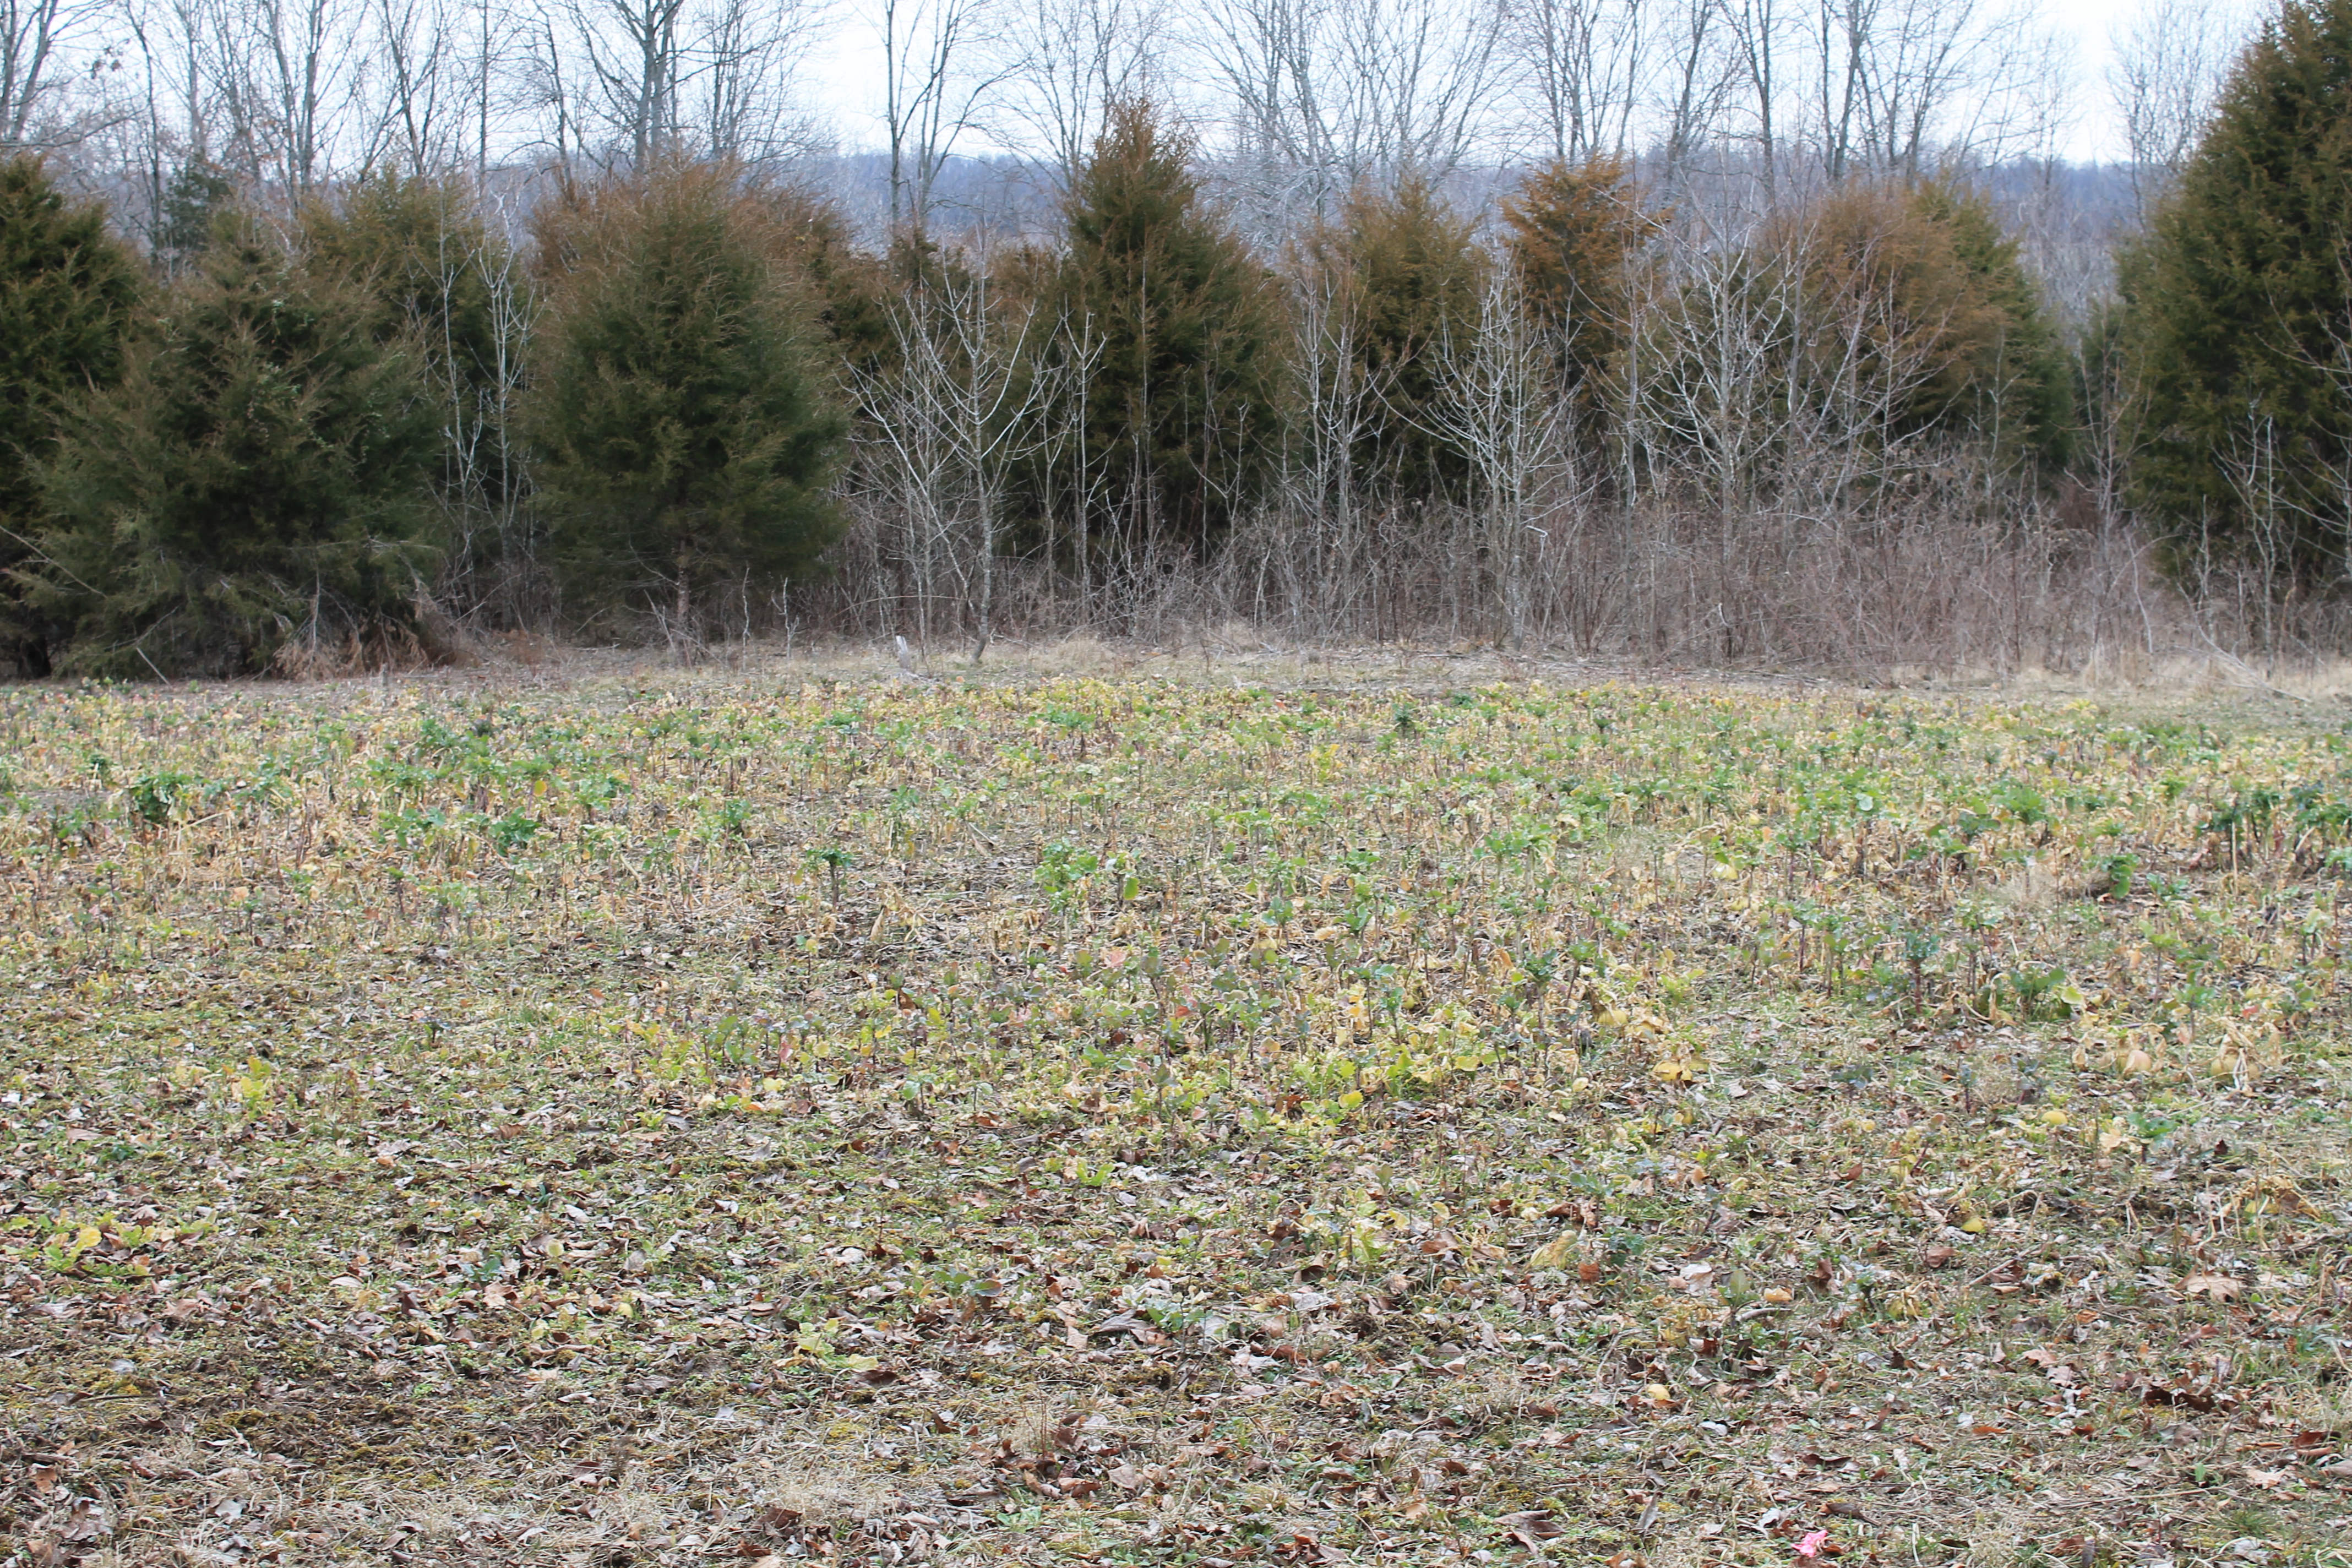
On warmer days, greens are winners. When temperatures rise, deer commonly seek out these food sources. Turnips, radishes, beets, clover and other leafy plants can be greats draws during the late season. This includes forbs, which grow naturally throughout the landscape.
General browse is another hot ticket item. It’s lower on the totem pole, and more abundant and spread out, though. This makes it more difficult to take advantage of, but it’s certainly something to remember.
Step 2: Locate the Best Bedding
Another important factor is bedding cover that checks three different boxes. The first of these is a lack of pressure. If an area hasn’t been hunted hard during the preceding months, there will likely be big deer there.
Also, remember solar bedding. This is best defined as south-facing slopes that receive more direct sunlight throughout the day. Deer are most often bedded during daytime hours, and this allows them to receive maximum energy and warmth from the sun.
The third factor is thermal bedding. This is cover that has dense stands of cedar trees and other coniferous species. These helps retain heat closer to the ground, and can even increase temperatures in the vicinity by several degrees.
Step 3: Post Some Cams
Once likely spots are identified, post cameras in high-odds locations. These are generally going to be along food sources. Pushing in closer to bedding areas simply to post cameras is ill-advised, especially this late in the season. Instead, keep them closer to food sources. They’ll still let you know whether or not deer are making it there in daylight.
Specific places to focus on include the inside corners of field edges, trails leading into food sources, pinch points in or near food sources, and more. Remember to use camera settings that optimize what you’re trying to achieve. And if reducing pressure is of importance, deploy cellular devices with solar power to reduce scouting trips.
Step 4: Glass from Afar
In areas that allow for it, glassing from afar is a solid tactic. If you can get back several hundred yards and watch an open area with a pair of binos, do so. Pairing this with trail camera data is a surefire tactic for pinpointing late-season action.
Step 5: Connect the Dots
Once you’ve completed the scouting process, it’s time to connect the dots. Look at aerial maps, or even apps — such as HuntStand — and determine where the best bedding areas, food sources and water sources are located. Then, determine what trails deer are using to move from spot to spot.
Step 6: Find the X
Once all information is gathered in step No. 5, analyze it, think critically, and home in on the best stand locations. You’re finding the X, so to speak. Pick spots that you can intercept deer during daylight, whether that’s closer to food (preferable for less pressure), or closer to bedding areas (riskier, but sometimes necessary).
Consider whether or not these locations have good entry and exit routes. If deer see, hear or smell you coming and going, it won’t matter how great of a spot it is. Then, once it passes that test, drill down and determine correct wind directions for hunting each spot.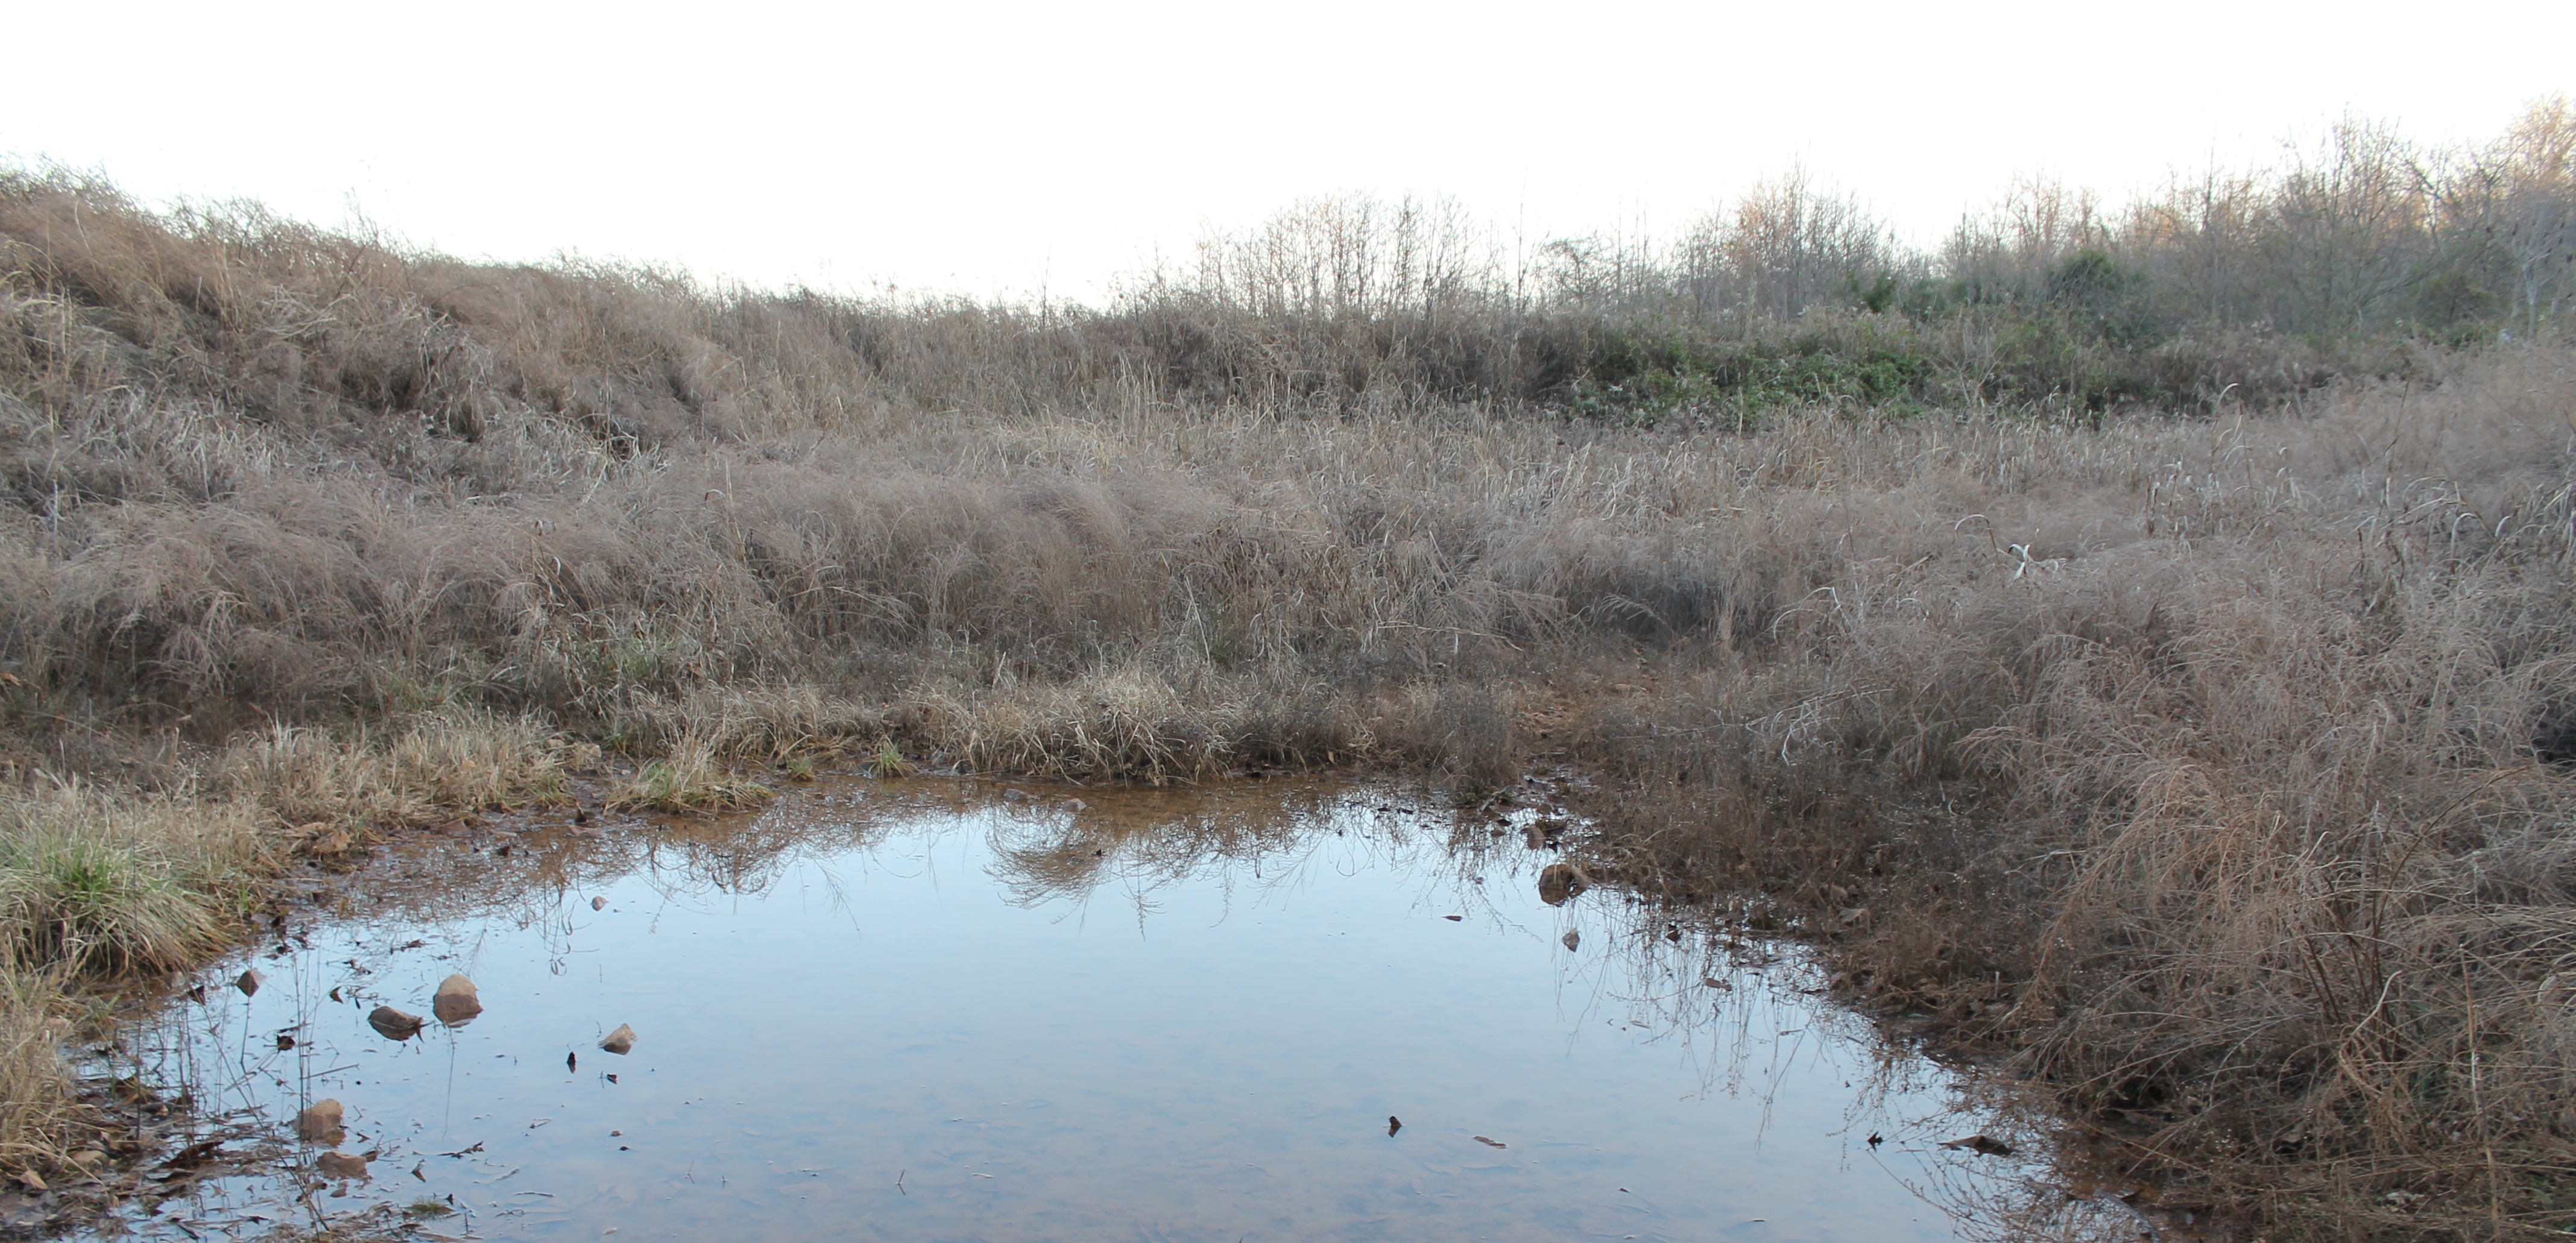
Step 7: Gear Up
Certain gear can help get you through the hunt, especially when it’s bitter cold. Quality clothing, and weapons that won’t buckle under pressure, are both crucial for success. Make sure everything is in good working order prior to the hunt.
Step 8: Wait for Weather
Deer are certainly driven to move during daylight more times than others. Generally, these are during significant temperature changes. A 10-degree swing (or more) in the highs can really get deer moving, especially if they are dropping. Don’t underestimate sudden increases, though. These really get deer to focus on green food sources.
Step 9: Be Patient
Unless tomorrow is closing day, don’t get in too big of a hurry. If you still have at least two weeks of deer season, and if a great string of days is in the 10-day forecast, wait for those opportunities. Hunting during these times is more likely to produce than going with a bunch of low-odds sits.
Step 10: Afternoon Delight
Finally, it’s time to hunt. You’ve scouted, planned, and identified where to hunt. You’ve been patient, and waited for the right weather. You’re pretty confident that target buck will move during daylight. Now, it’s time to move in for some afternoon sits. Mornings can produce, too, but hold off unless you’re very confident in seeing your target, and that you will not bust deer going in or out.
All things considered, there’s no guarantee you’ll tag out. The late season is hard to hunt. But you definitely have a great shot of getting it done if you take the right steps.
Article and photos by Josh Honeycutt